Skip to content
Home
About
Gallery
Price List
Reimagined Guitars
How Your Guitar is Made
Home
About
Gallery
Price List
Reimagined Guitars
How Your Guitar is Made
Contact us
▶️
🔊 Mute
Home
About
Gallery
Price List
Reimagined Guitars
How Your Guitar is Made
Home
About
Gallery
Price List
Reimagined Guitars
How Your Guitar is Made
Contact us
🔊 Mute
How Your Guitar is Made
AG Series Acoustic
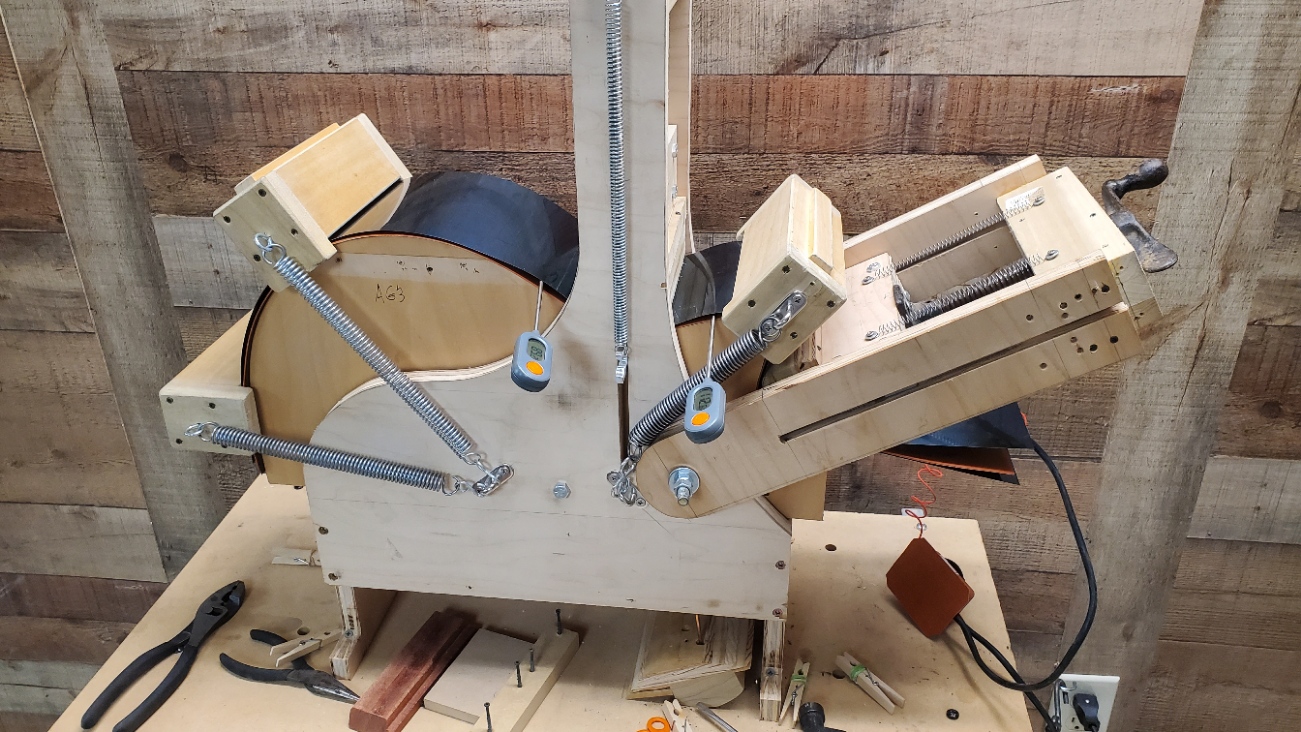
Step: 1 ( Bending Sides )
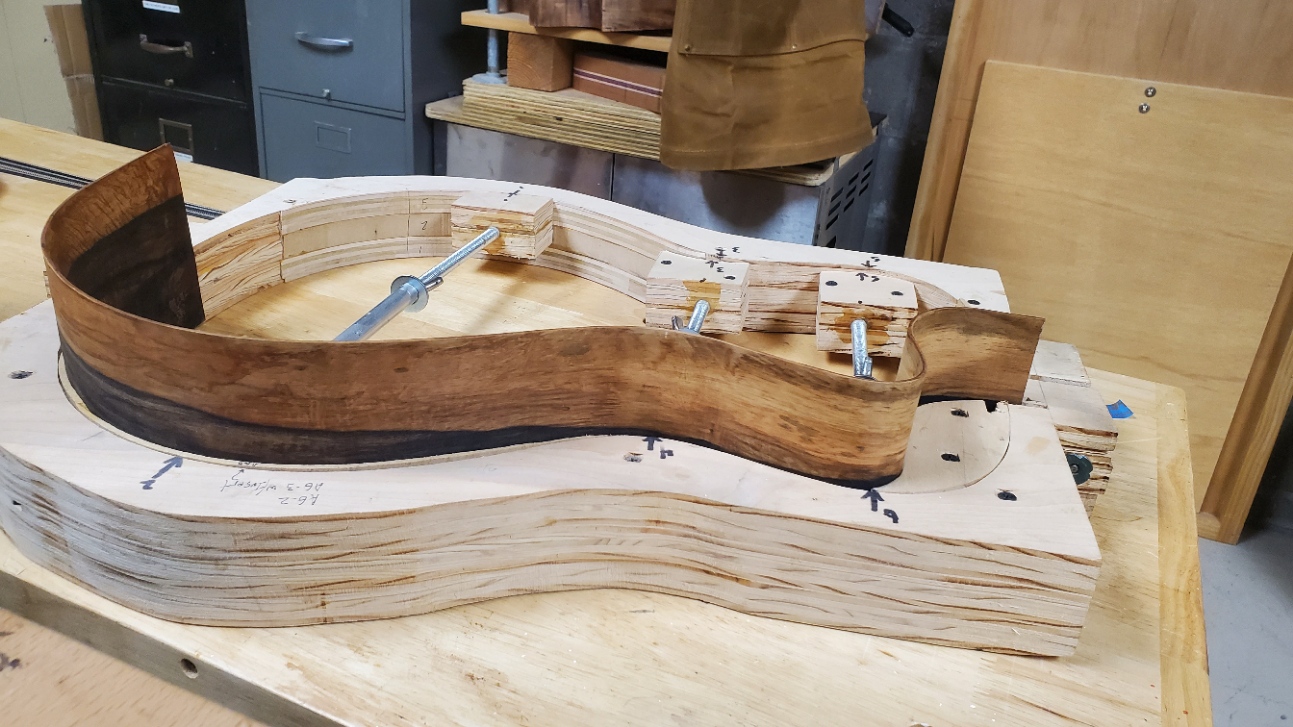
Step: 2 ( Glueing Blocks )
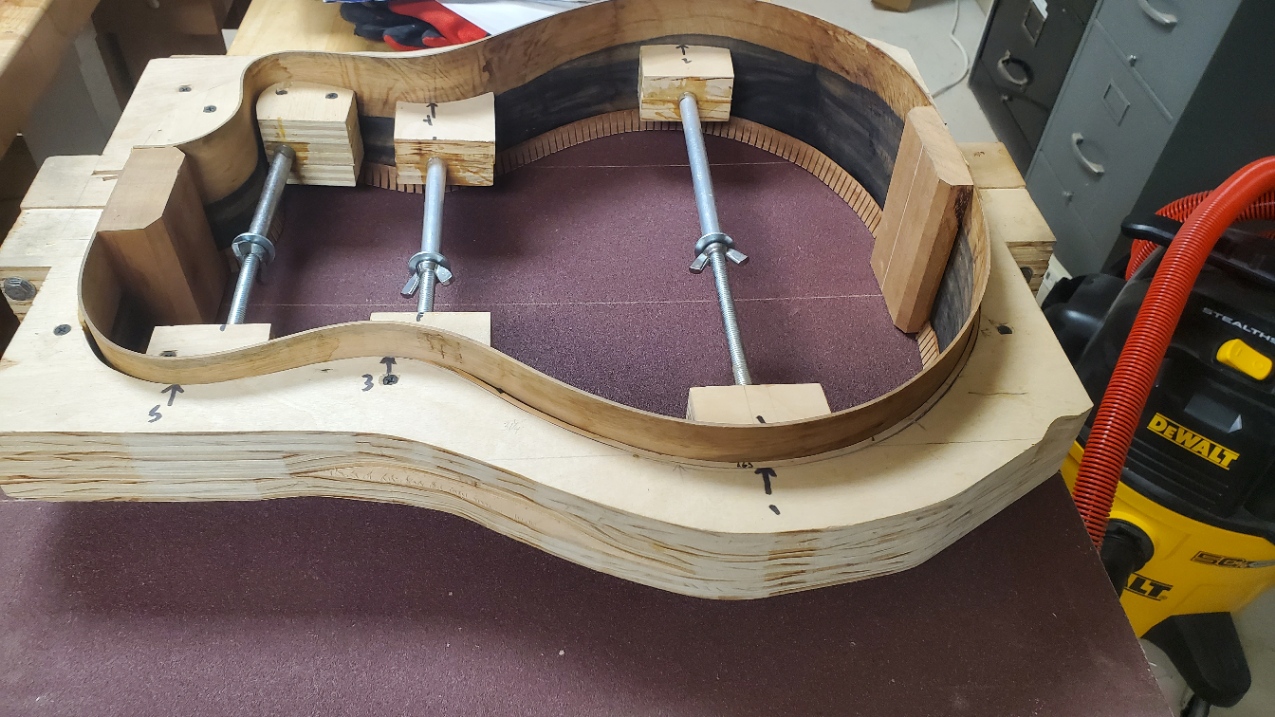
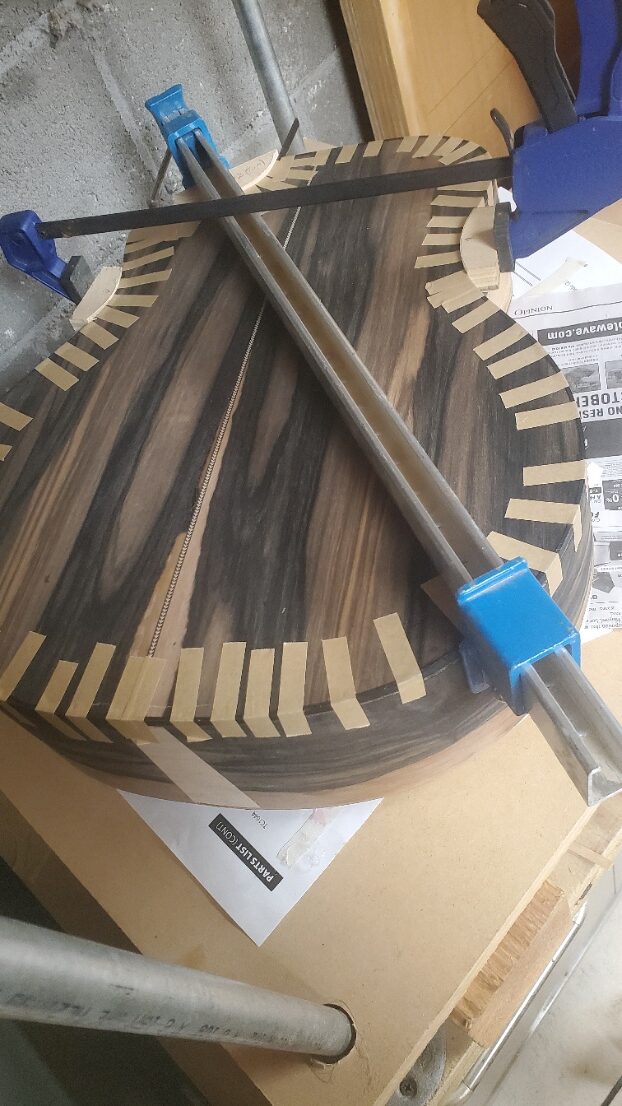
Step: 3 ( Radiusing Back )
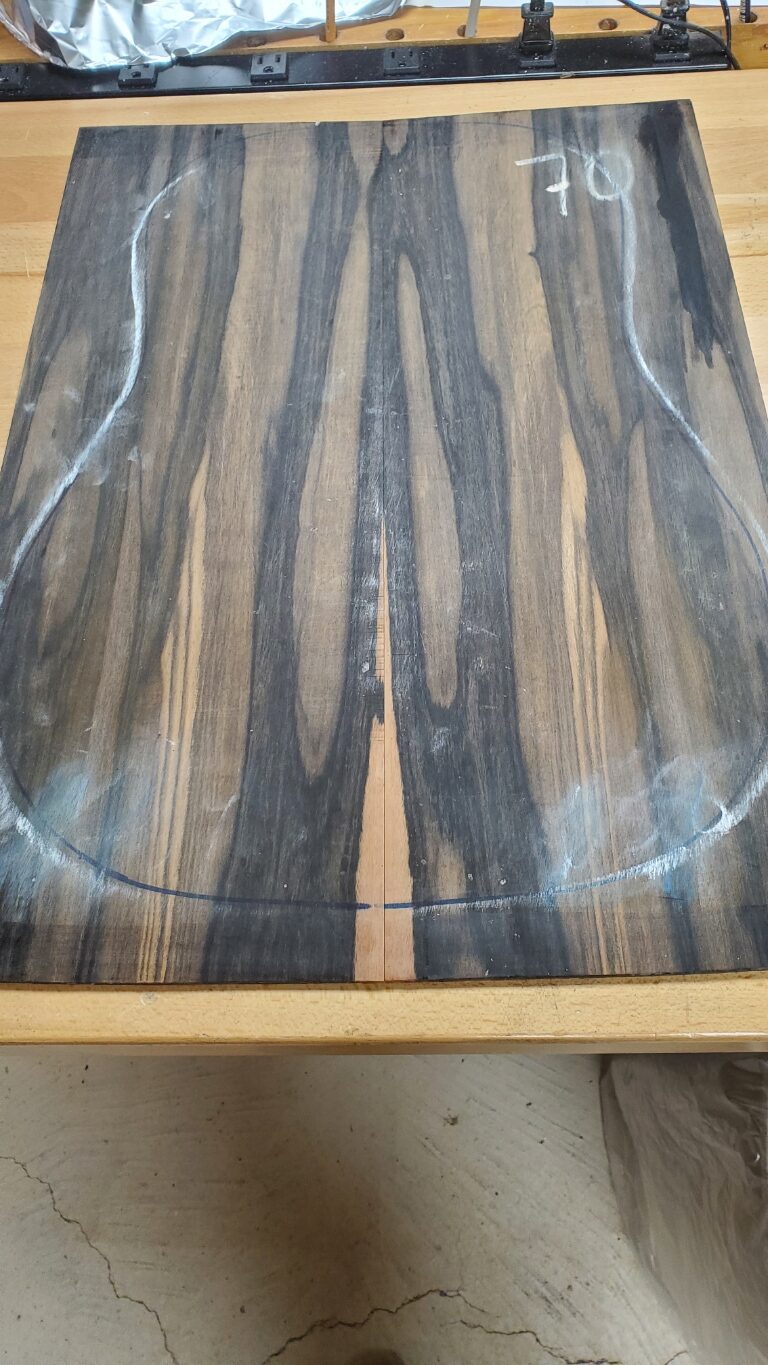
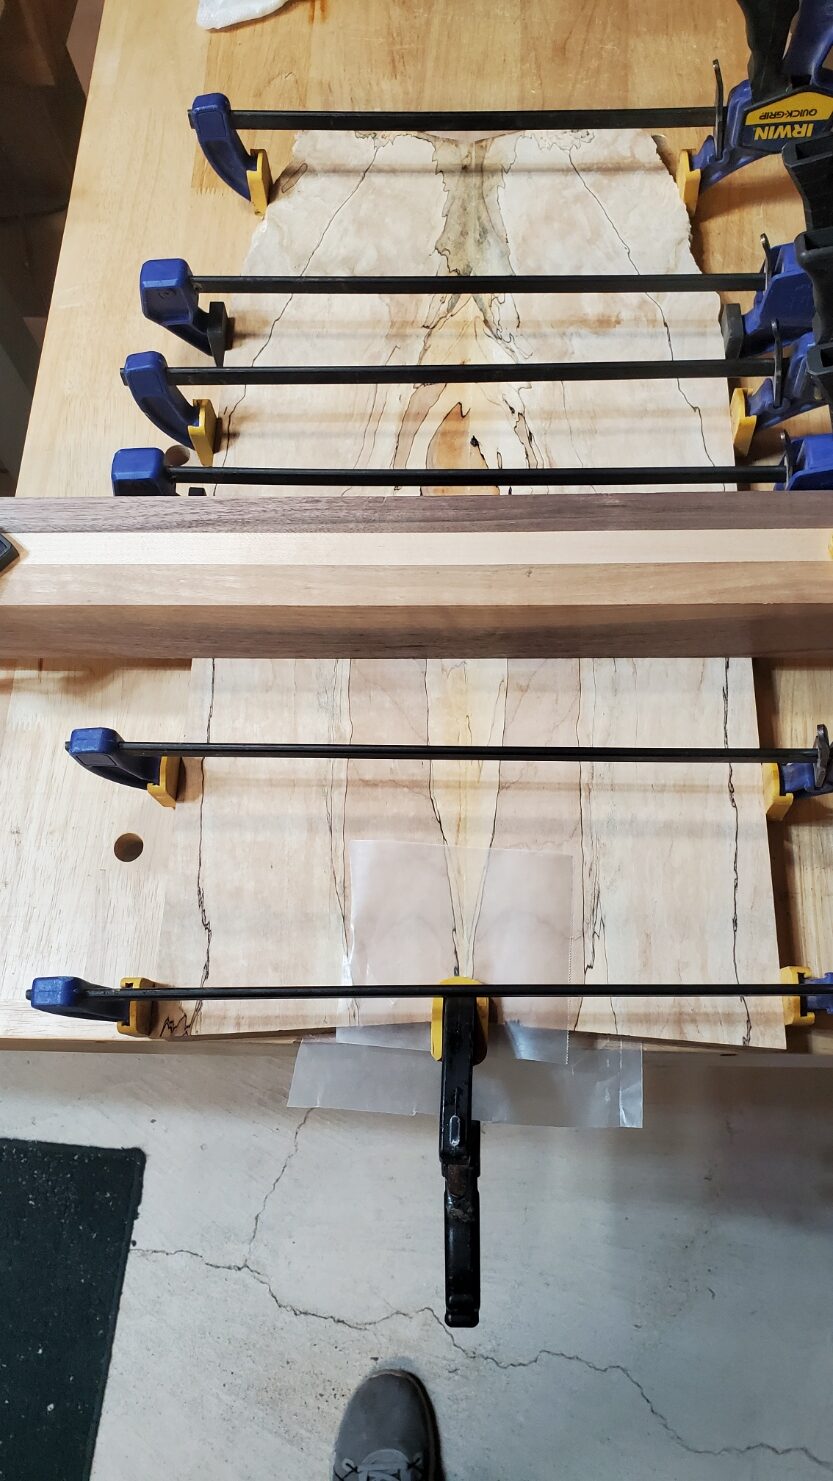
Step: 0 ( Joining Back )
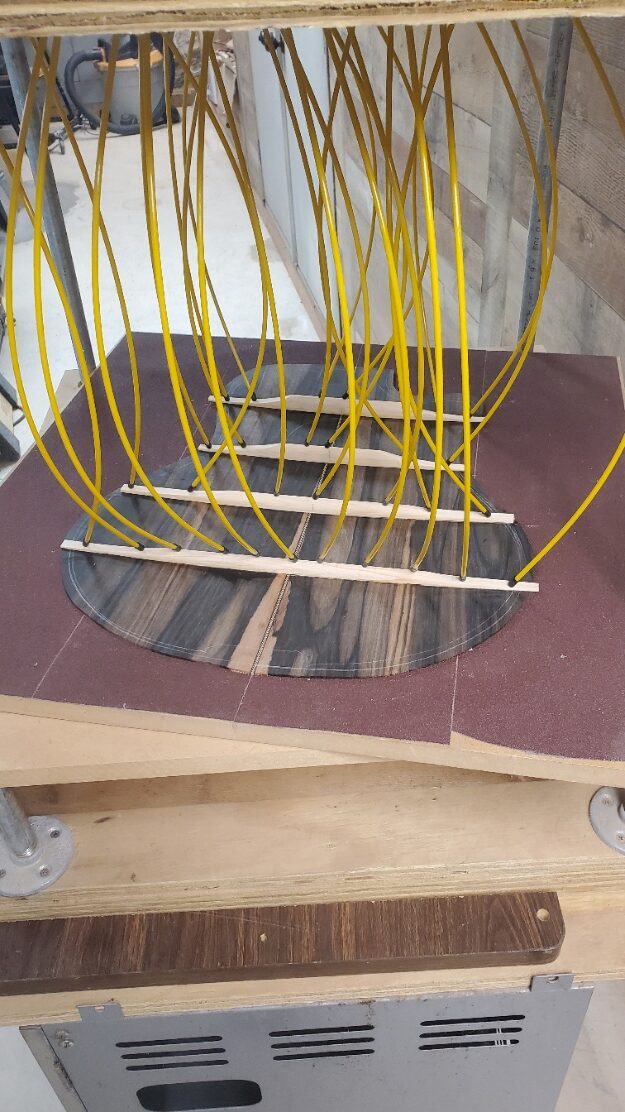
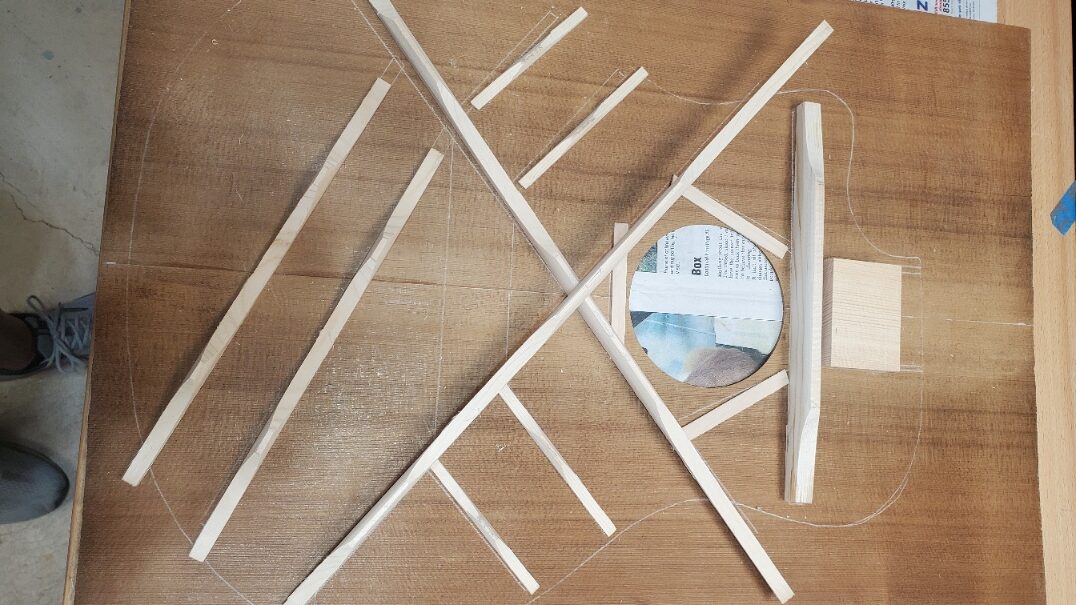
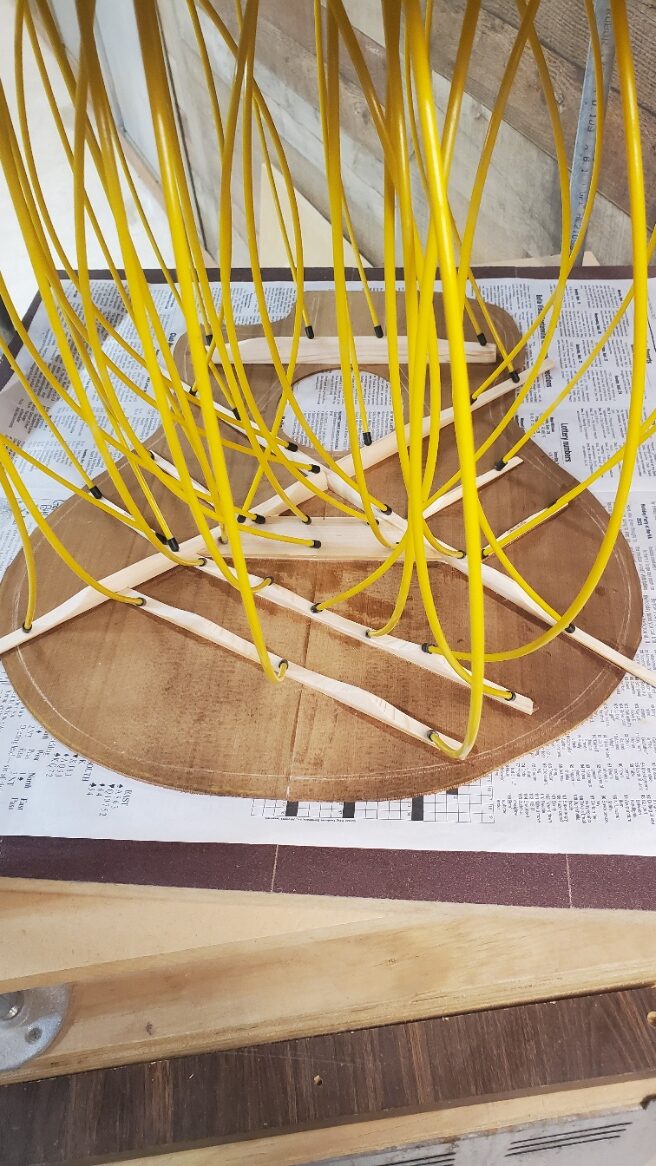
Step: 5 ( Bracing Back )
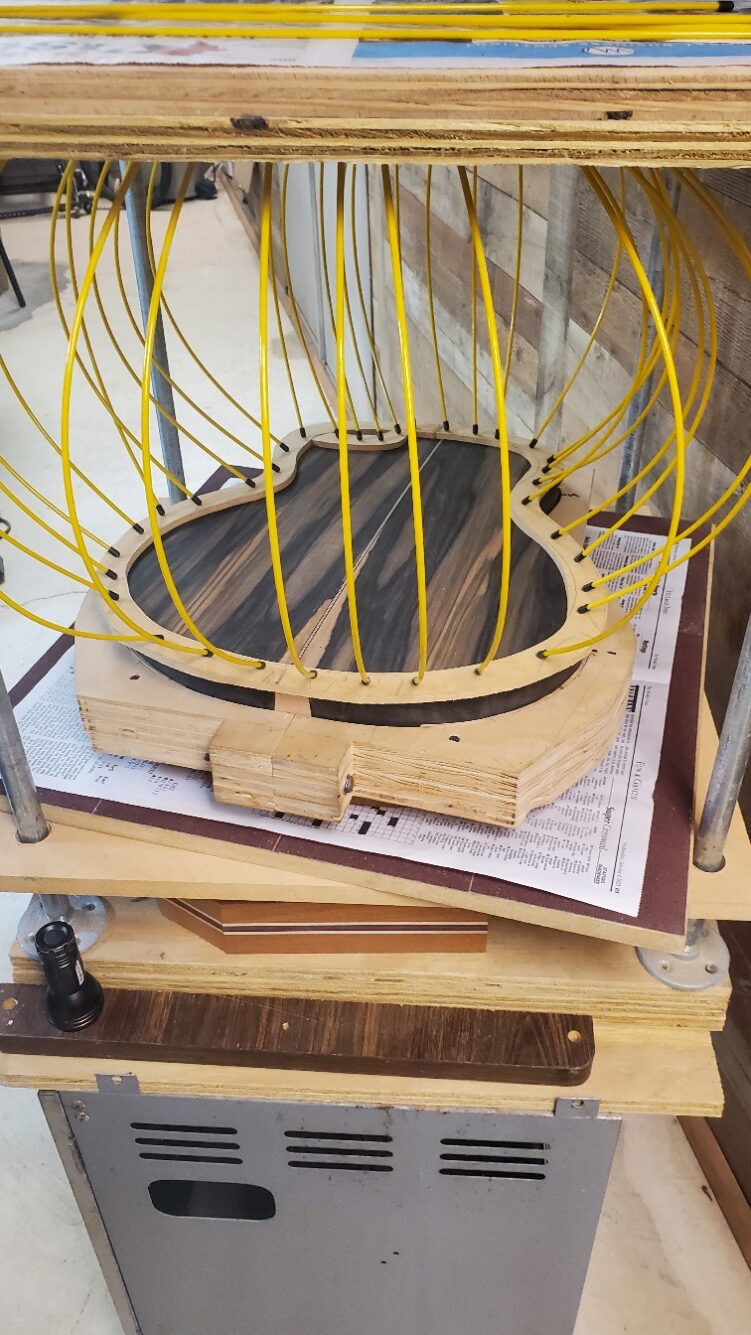
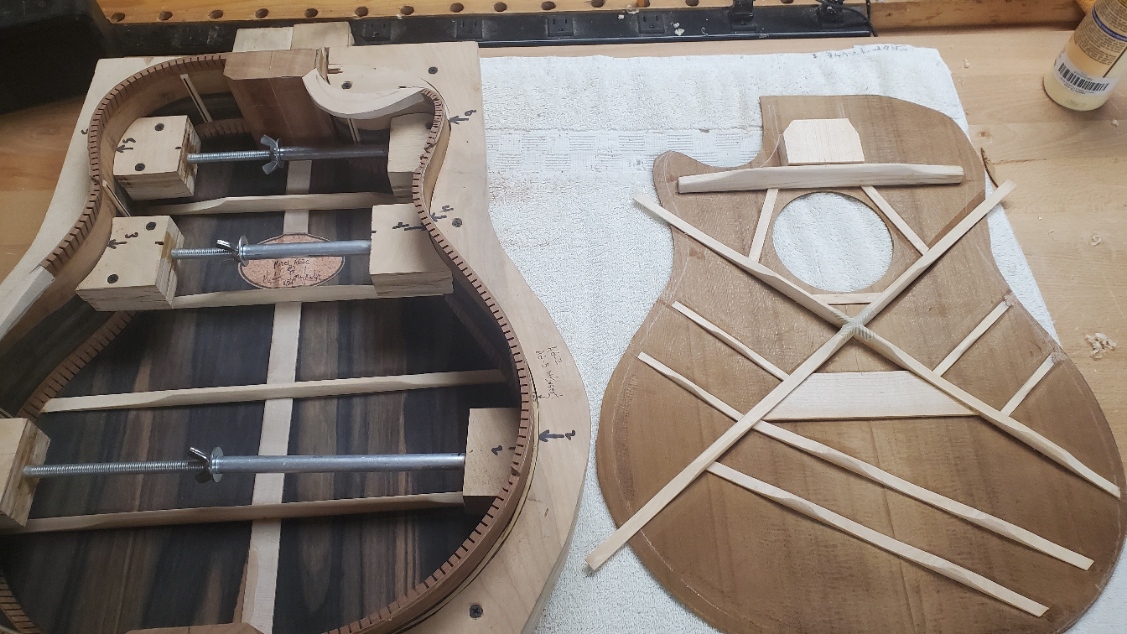
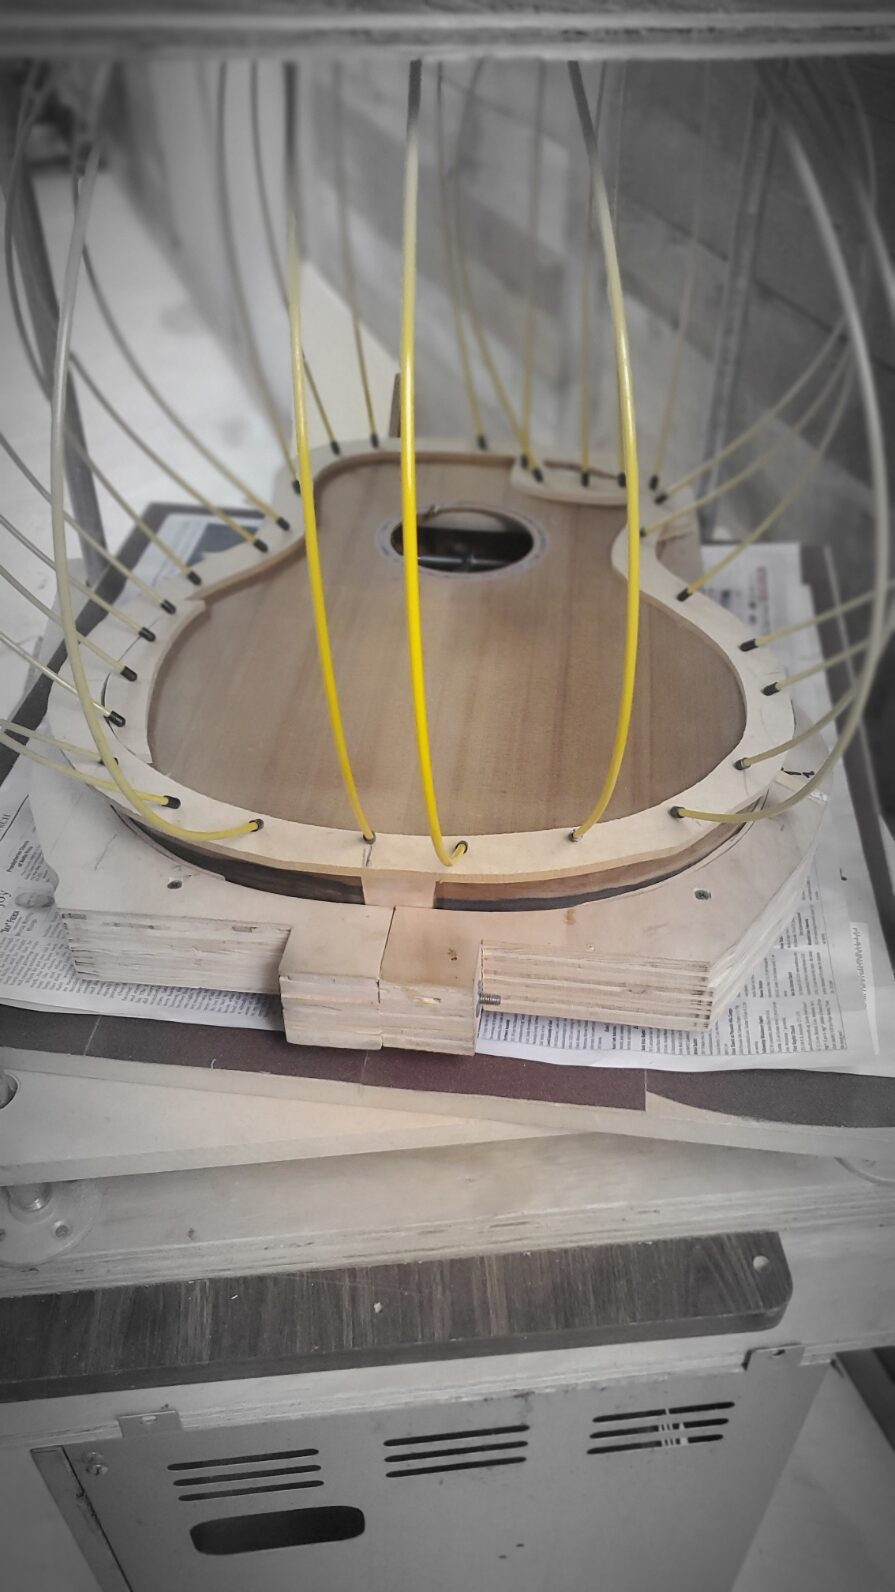
Step: 6 ( Gluing Back to Sides )
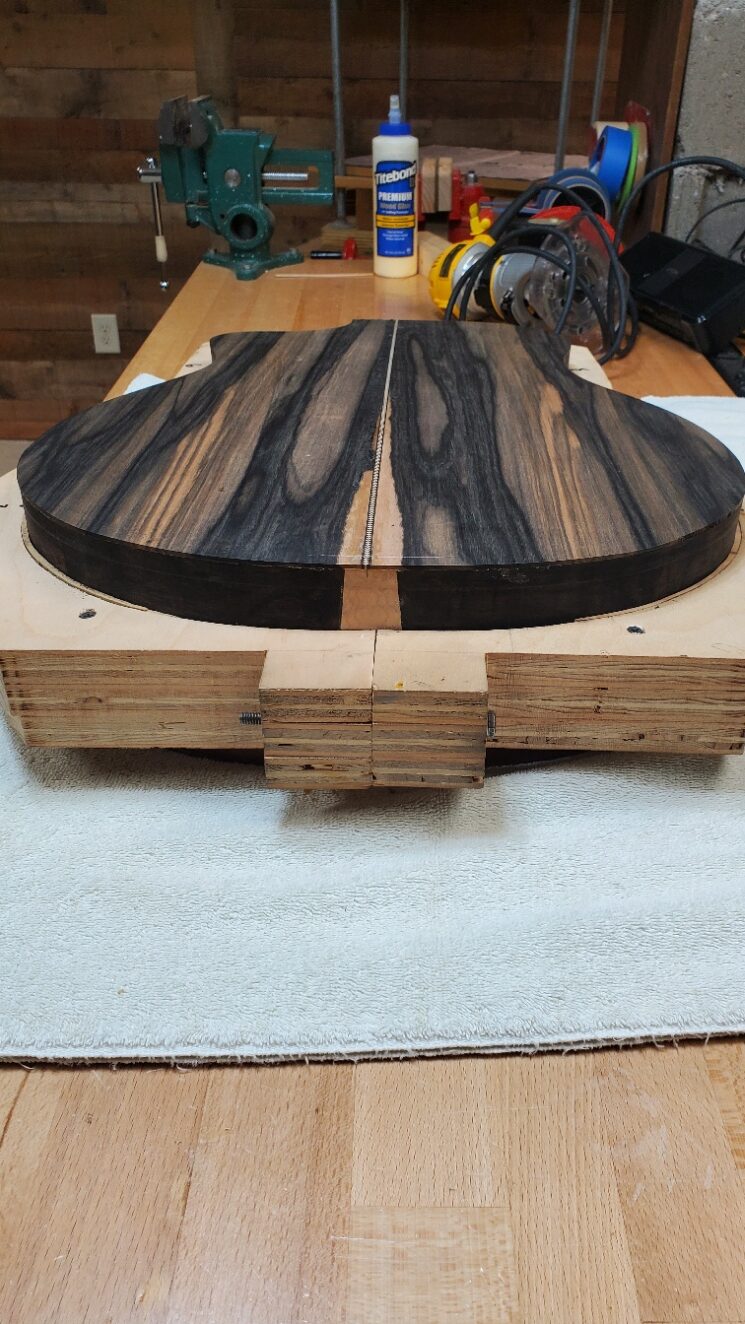
Step: 7 ( Back Attached )
Step: 8 ( Adding Kerfing for Top )
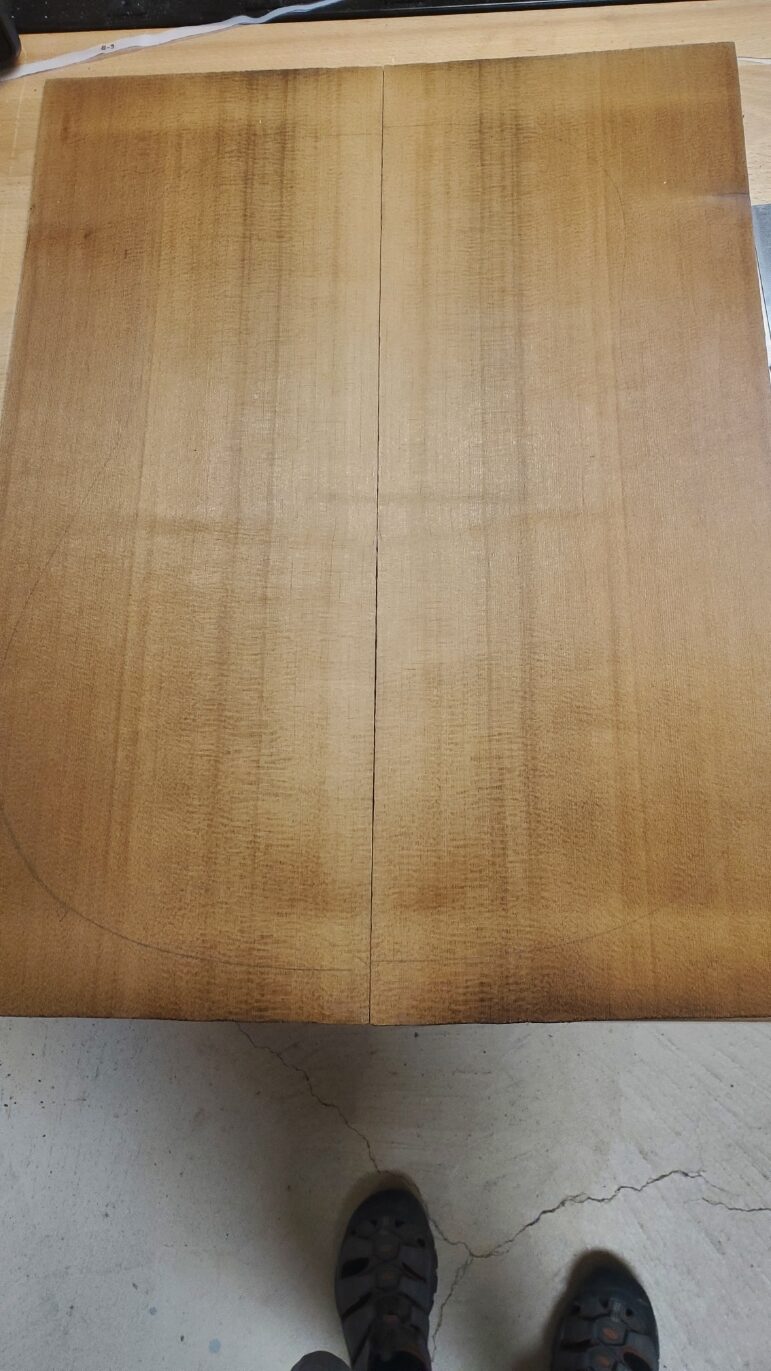
Step: 9 ( Joining top )
Step: 10 ( Top Bracing Layout )
Step: 11 ( Gluing on Top Bracing )
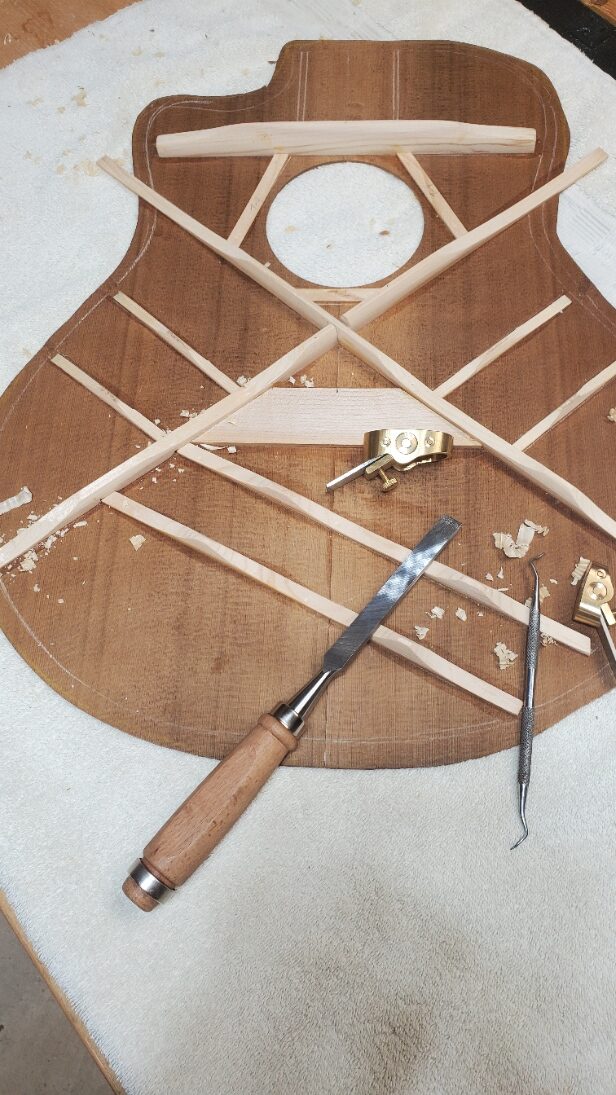
Step: 12 ( Trim and Tune Top Bracing )
Step: 13 ( Ready to Glue on Soundboard )
Step: 14 ( Gluing on Top )
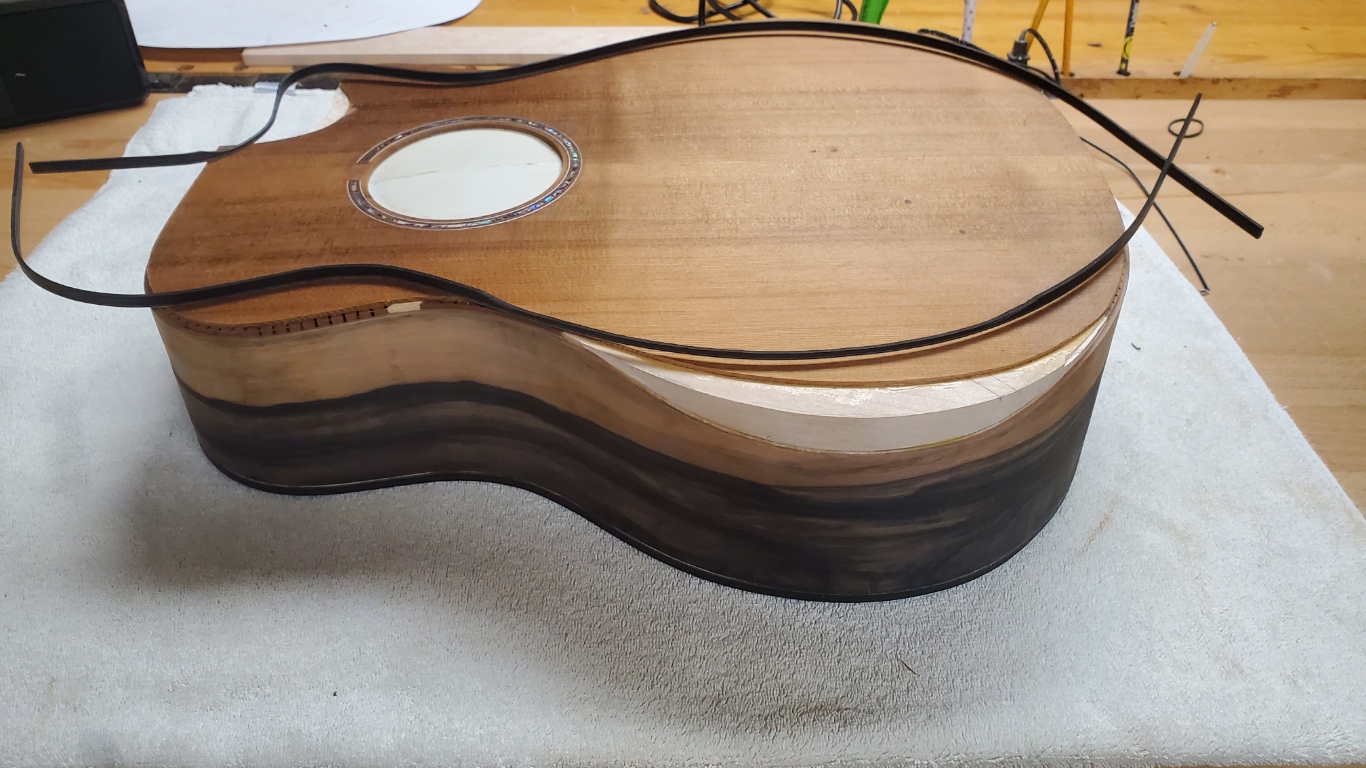
Step: 15 ( Gluing on Back Binding )
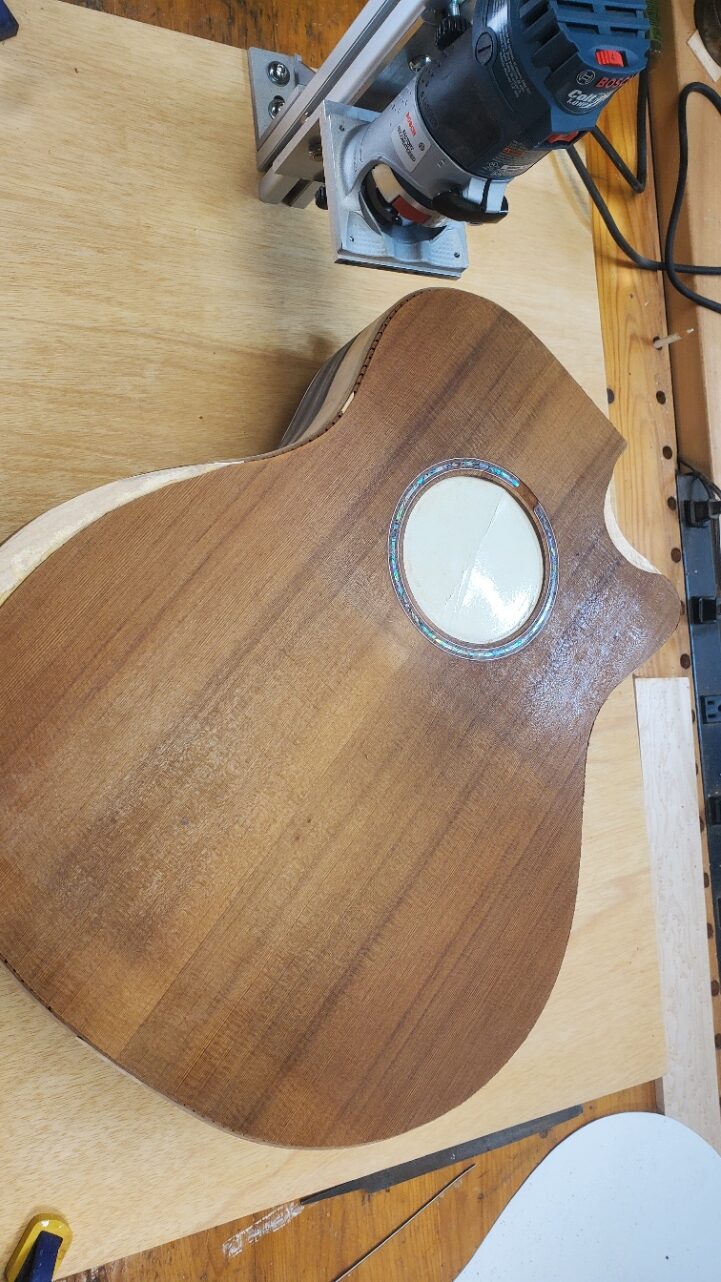
Step: 16 ( Routing for Top Binding )
Step: 17 ( Installing Top Binding )
Step: 18 ( Gluing Bevel Veneer )
Step: 19 ( Gluing up Neck )
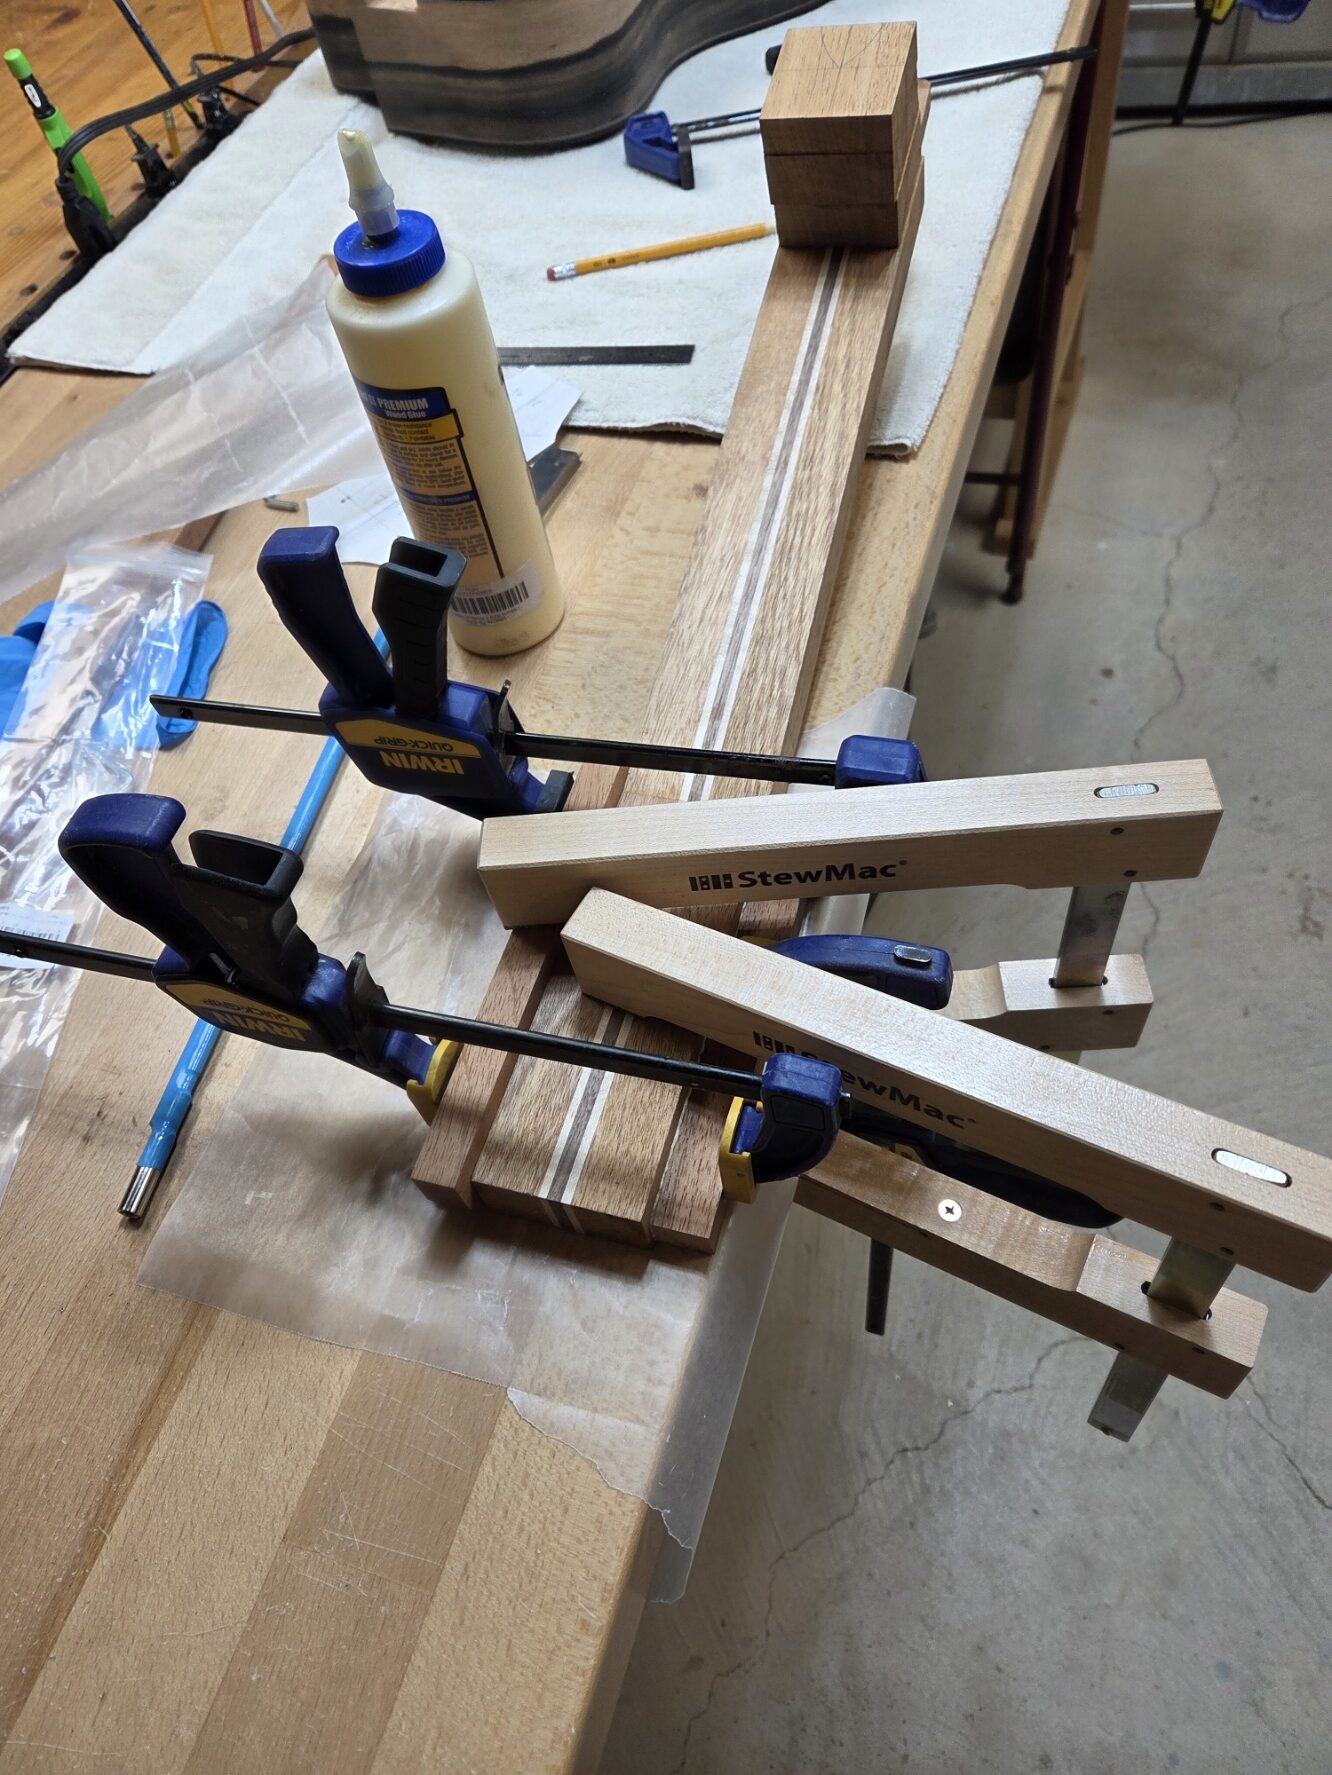
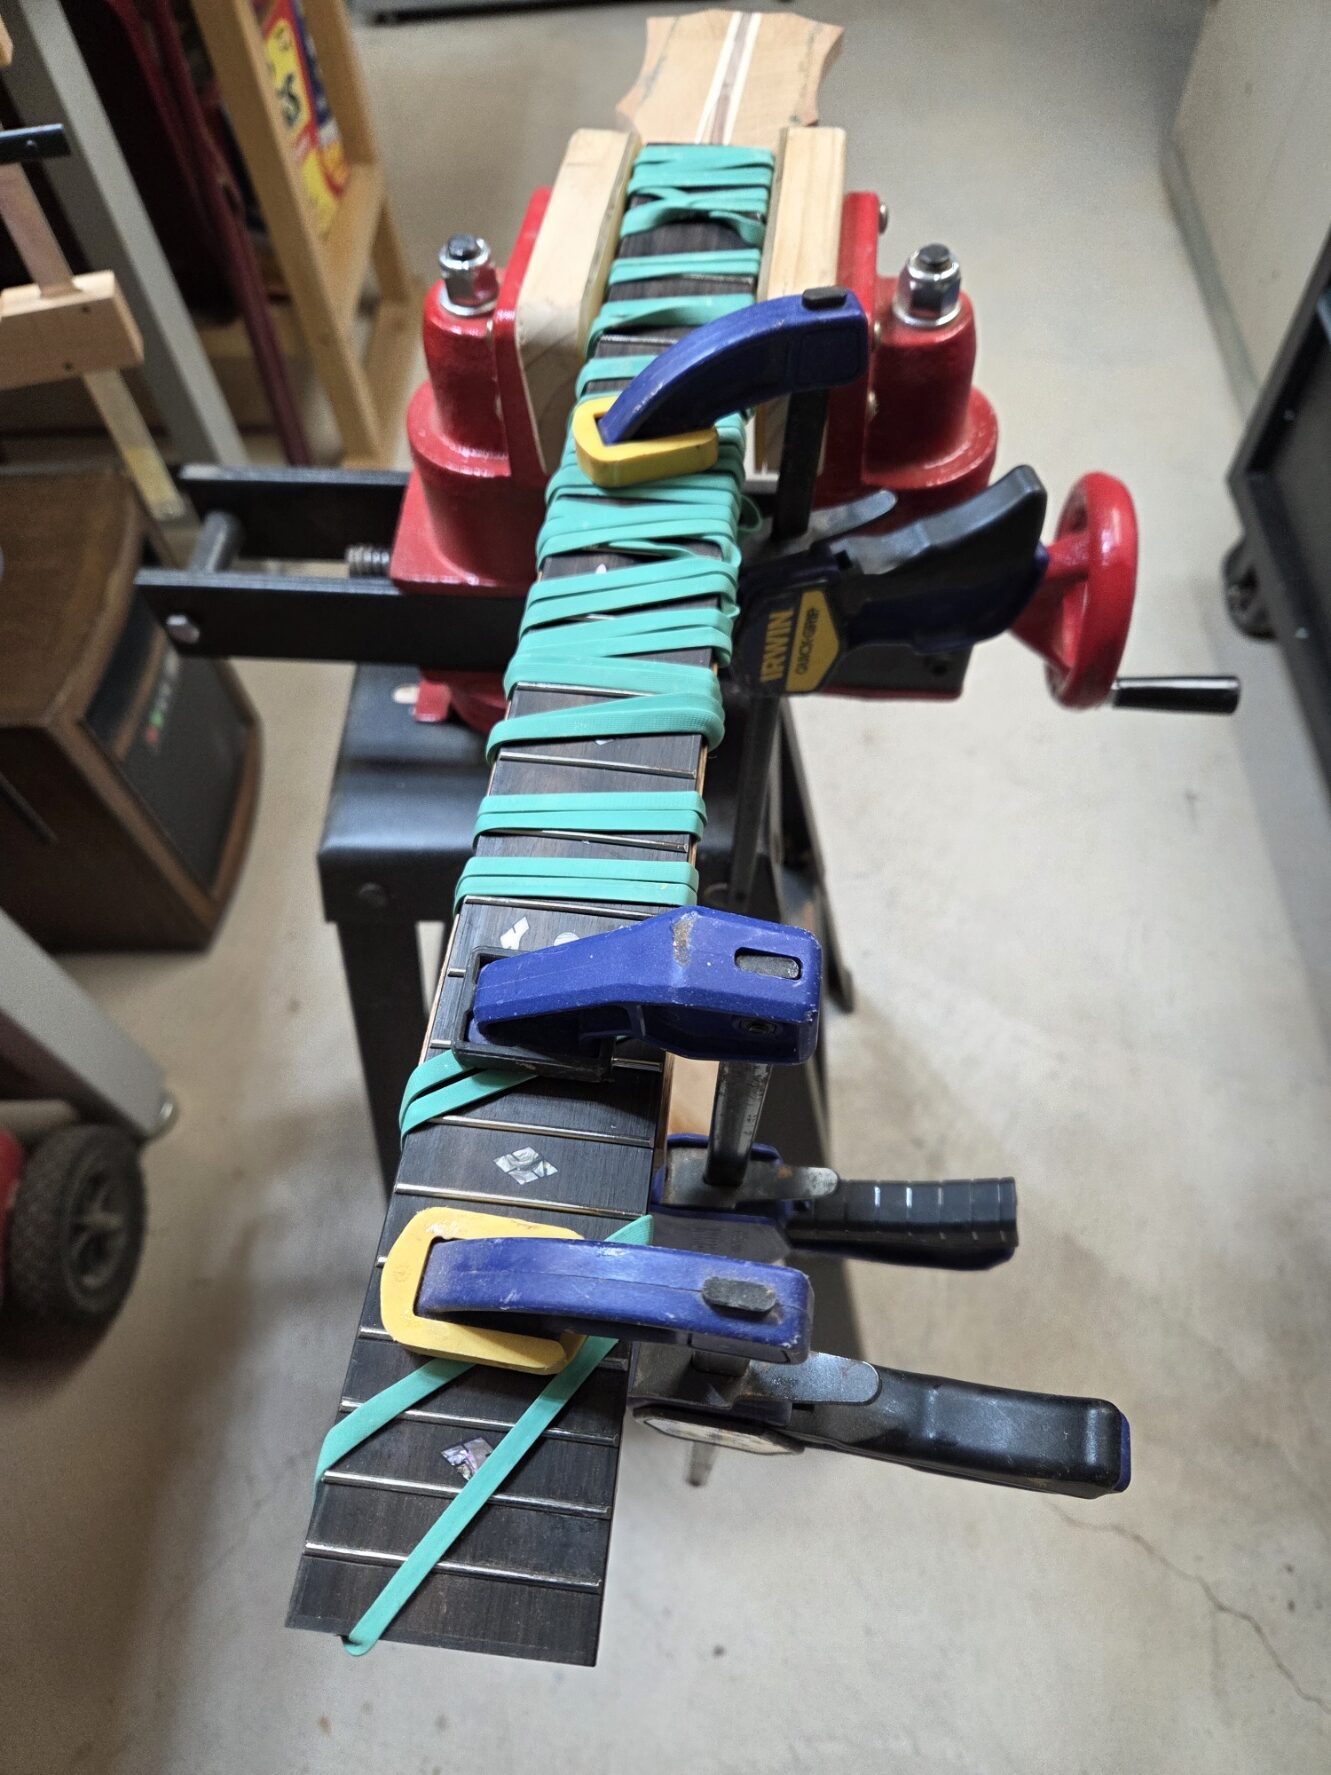
Step: 20 ( Gluing on Fingerboard )
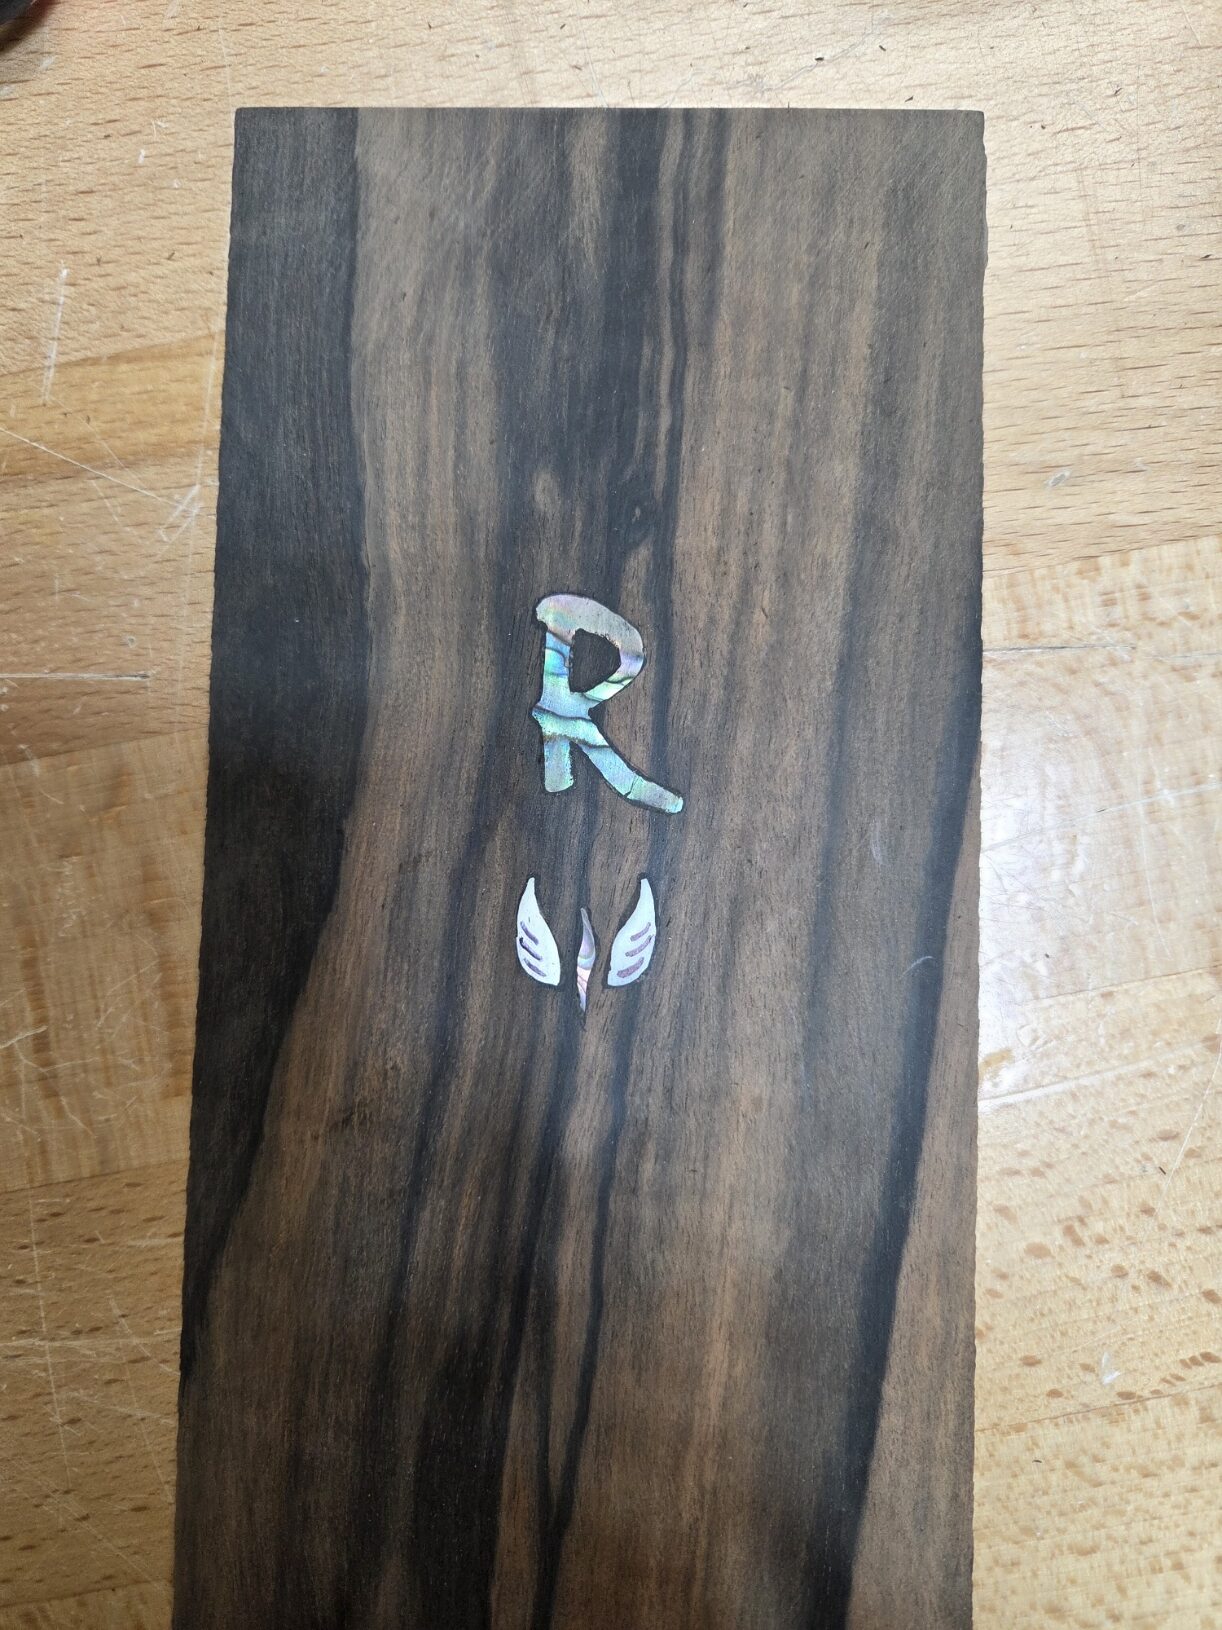
Step: 21 ( Headstock Veneer with Inlay )
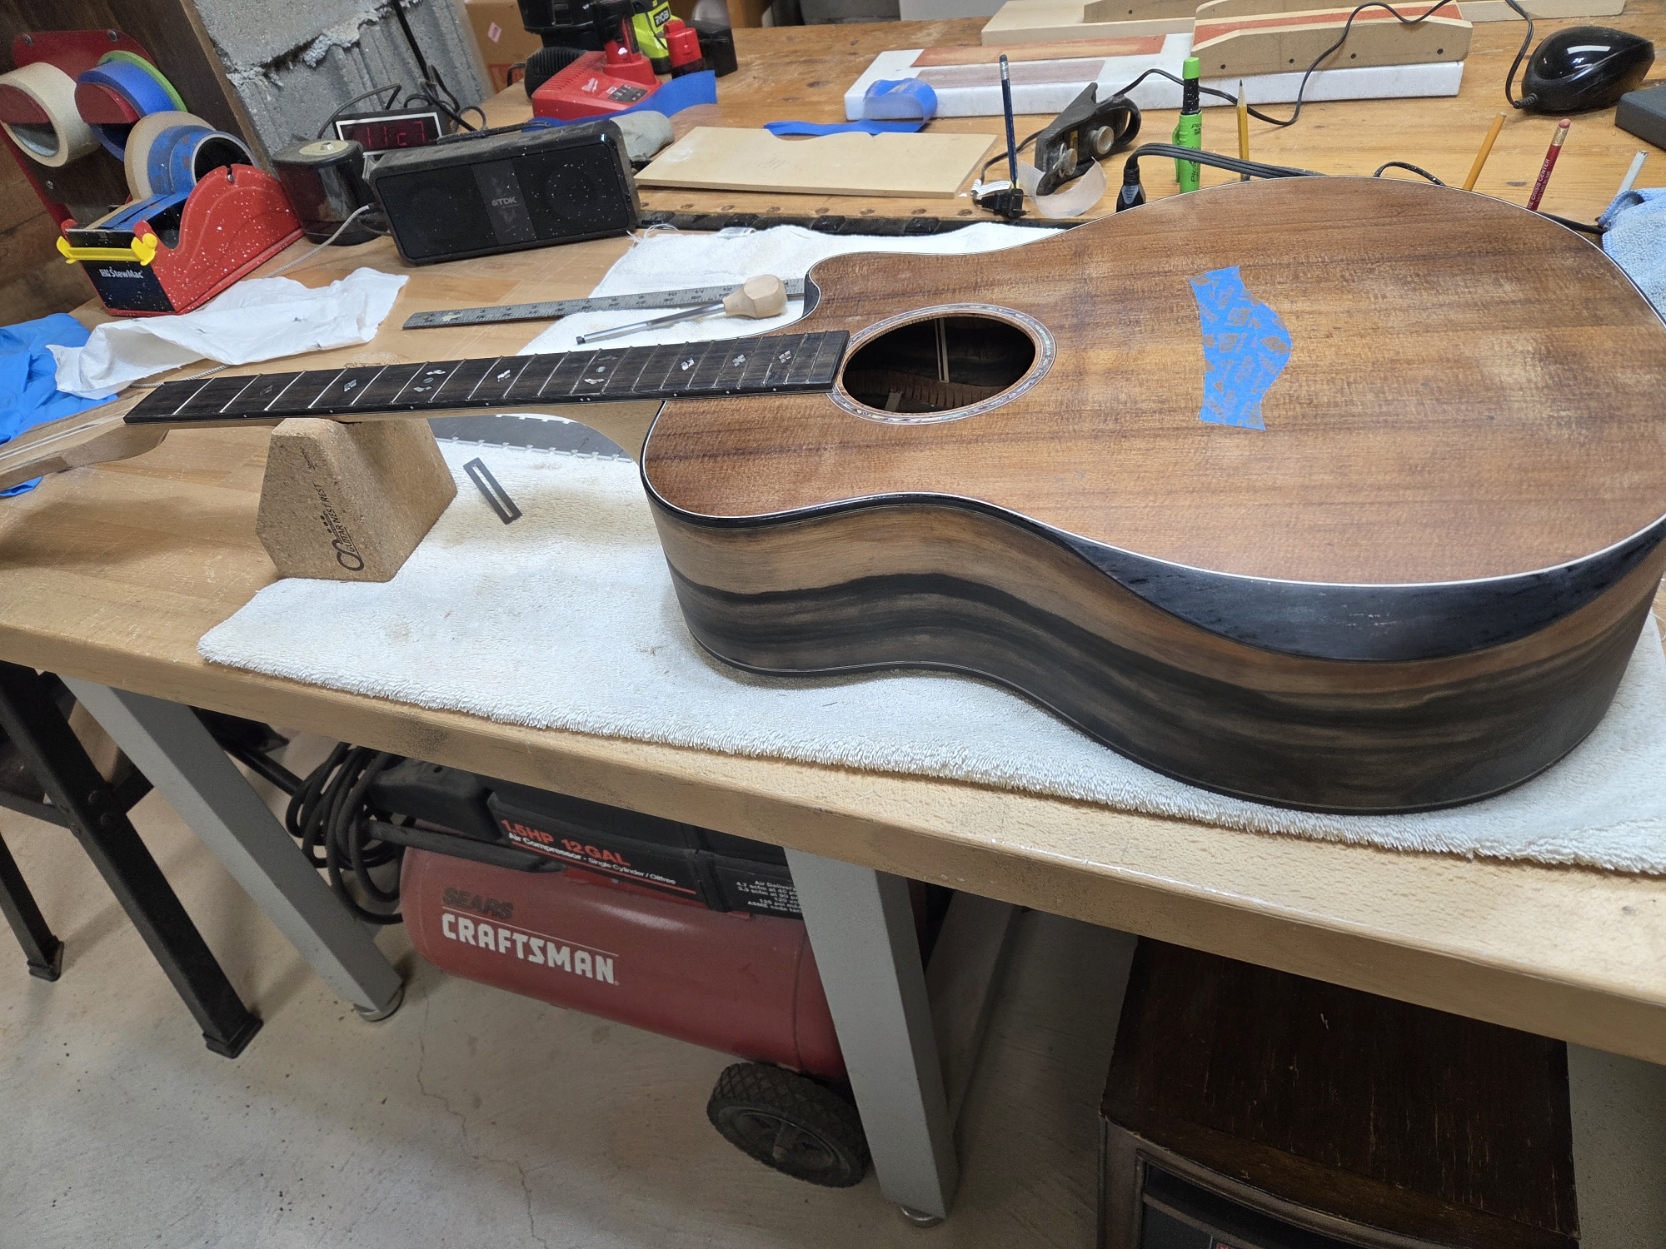
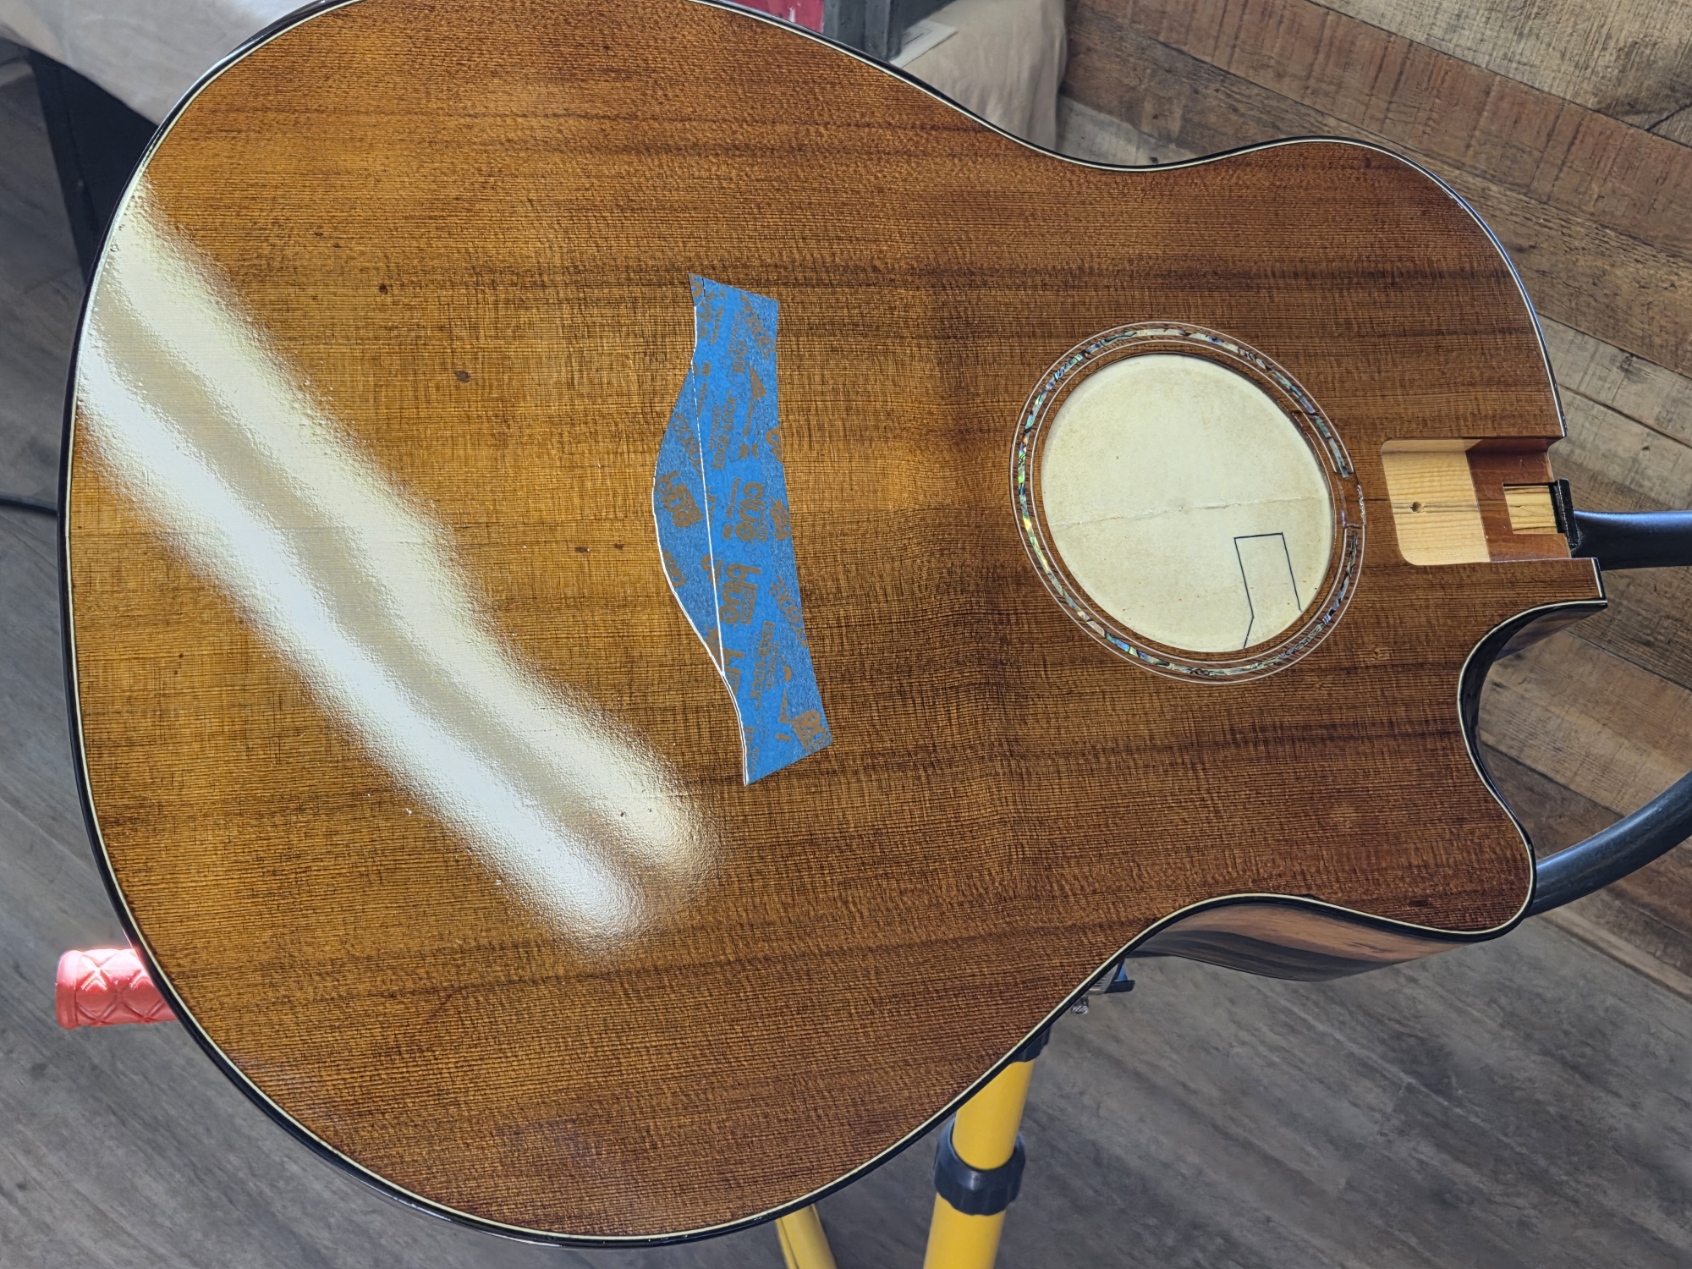
Step: 22 ( Almost ready for finish )
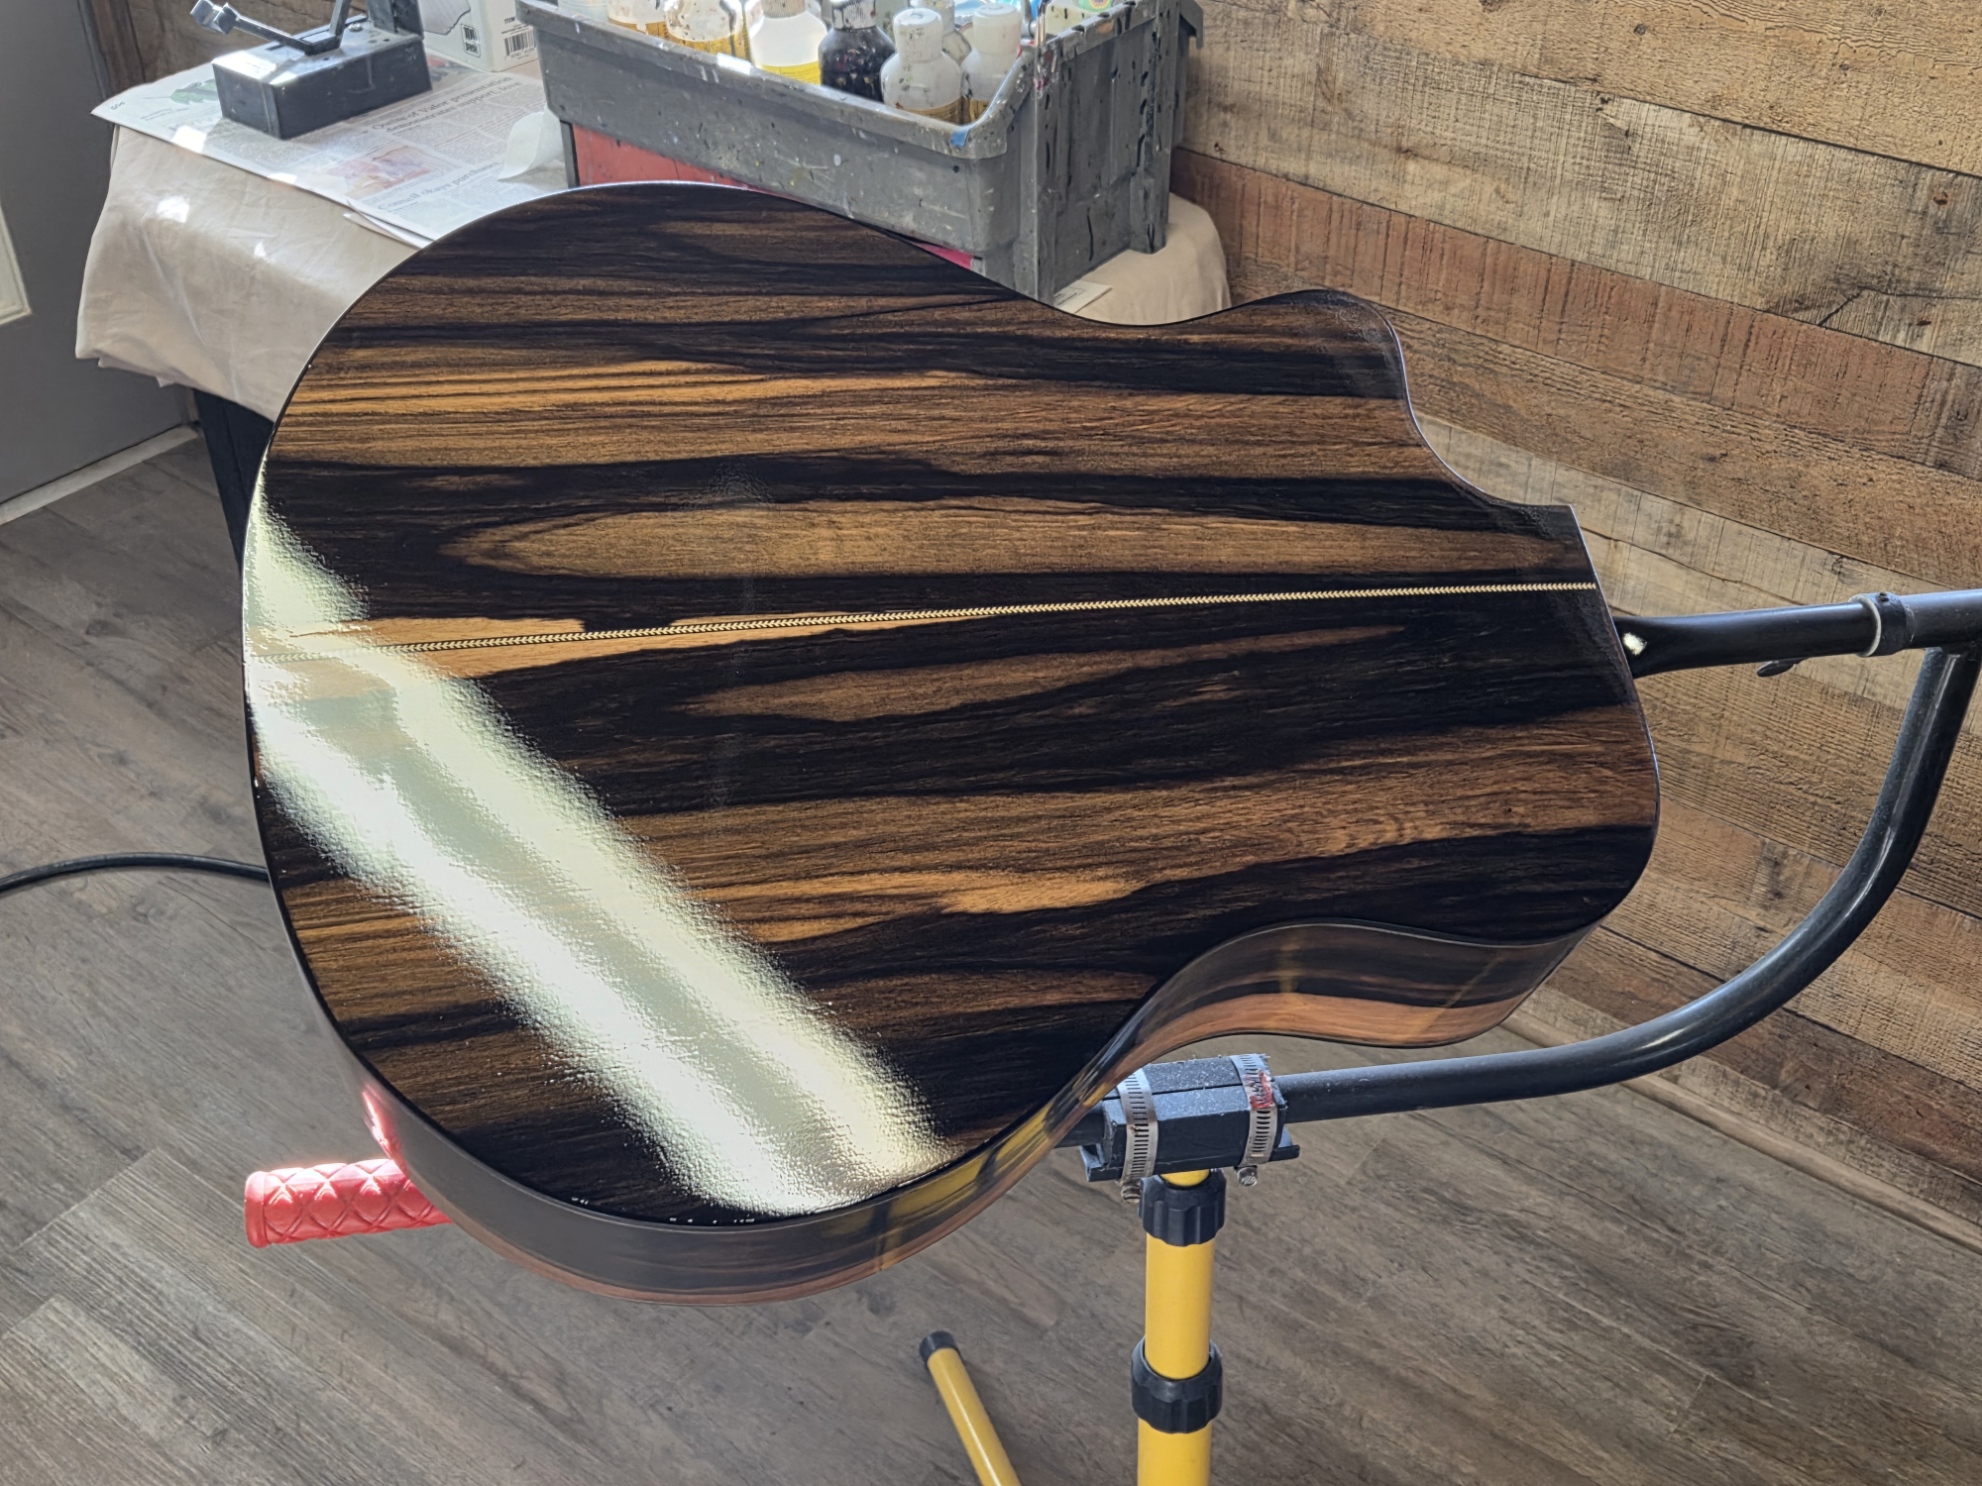
Step: 23 ( Applying Nitrocellulose Lacquer Finish )
Step: 24 ( Lacquered Top )
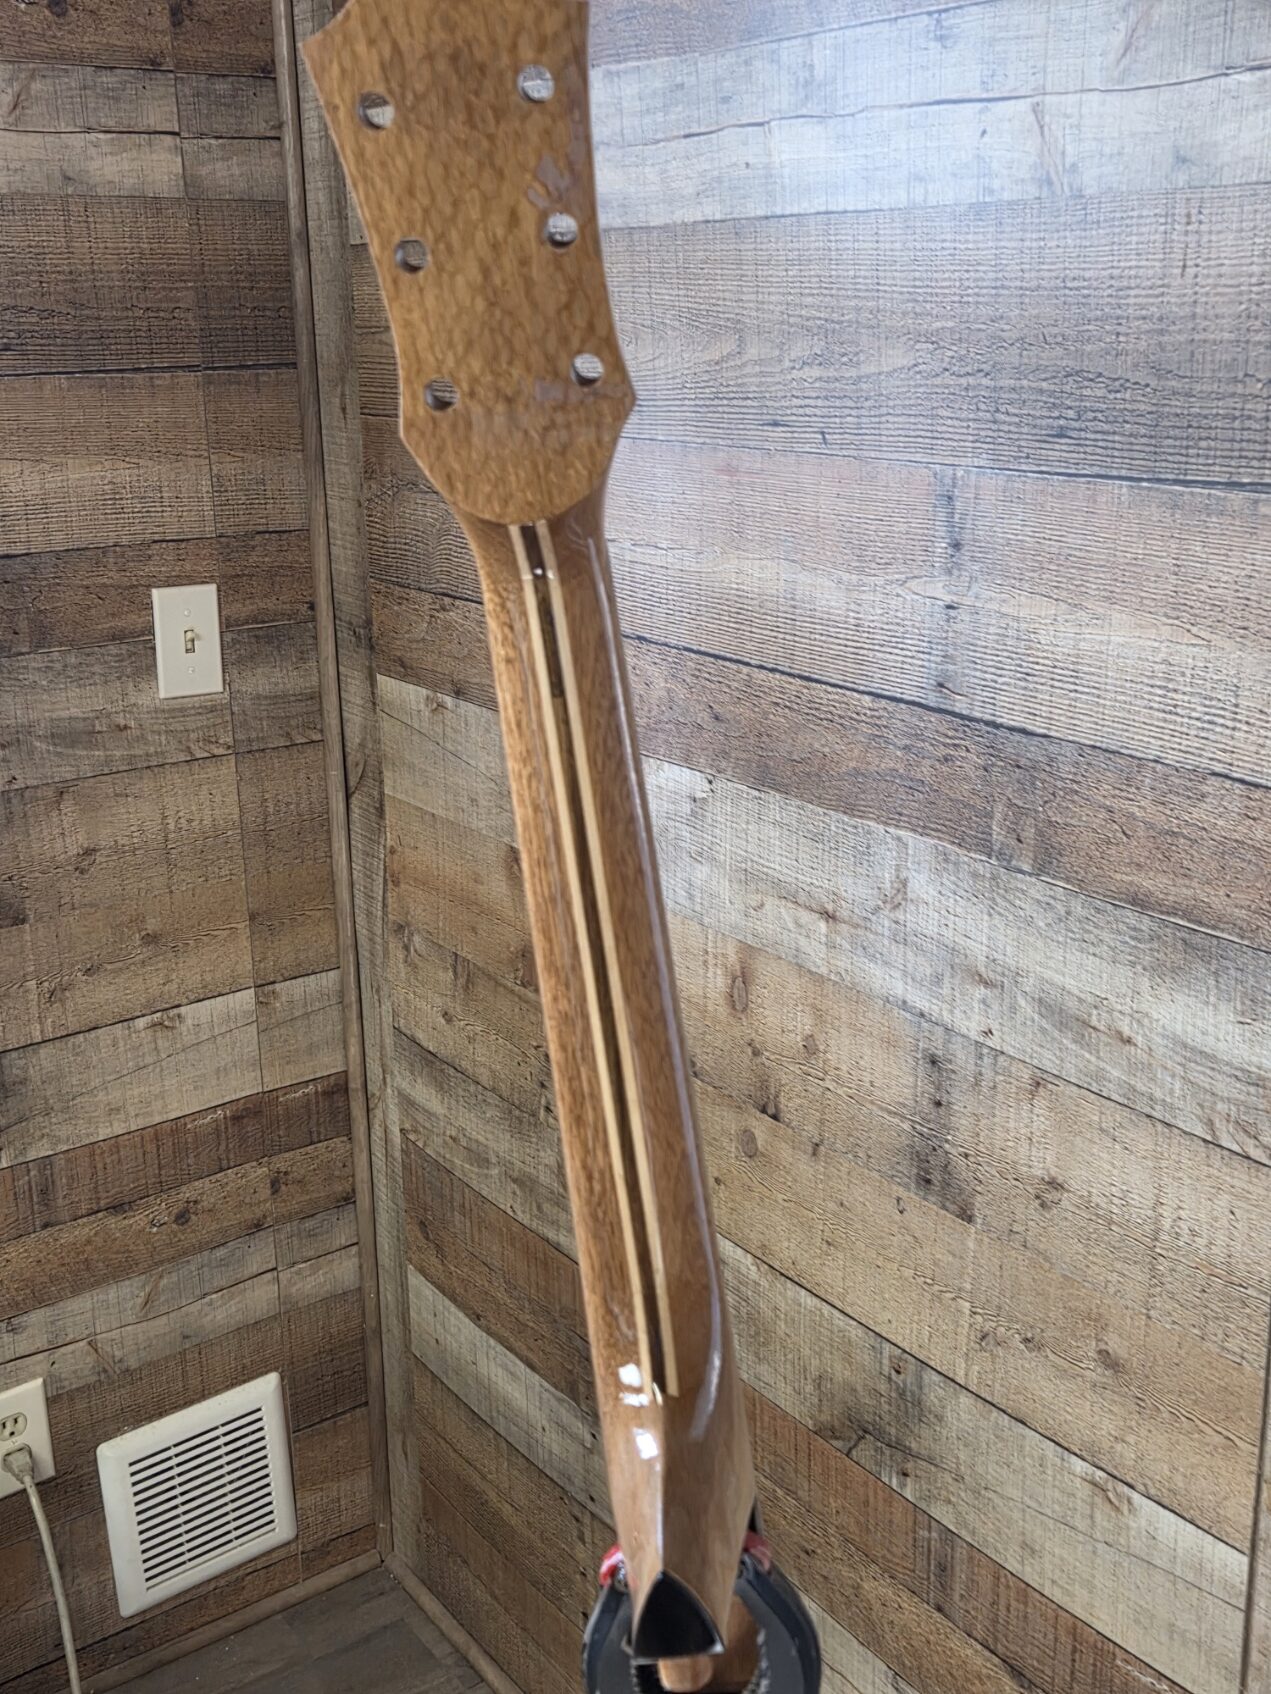
Step: 25 ( Finished neck with Sycamore Backstrap )
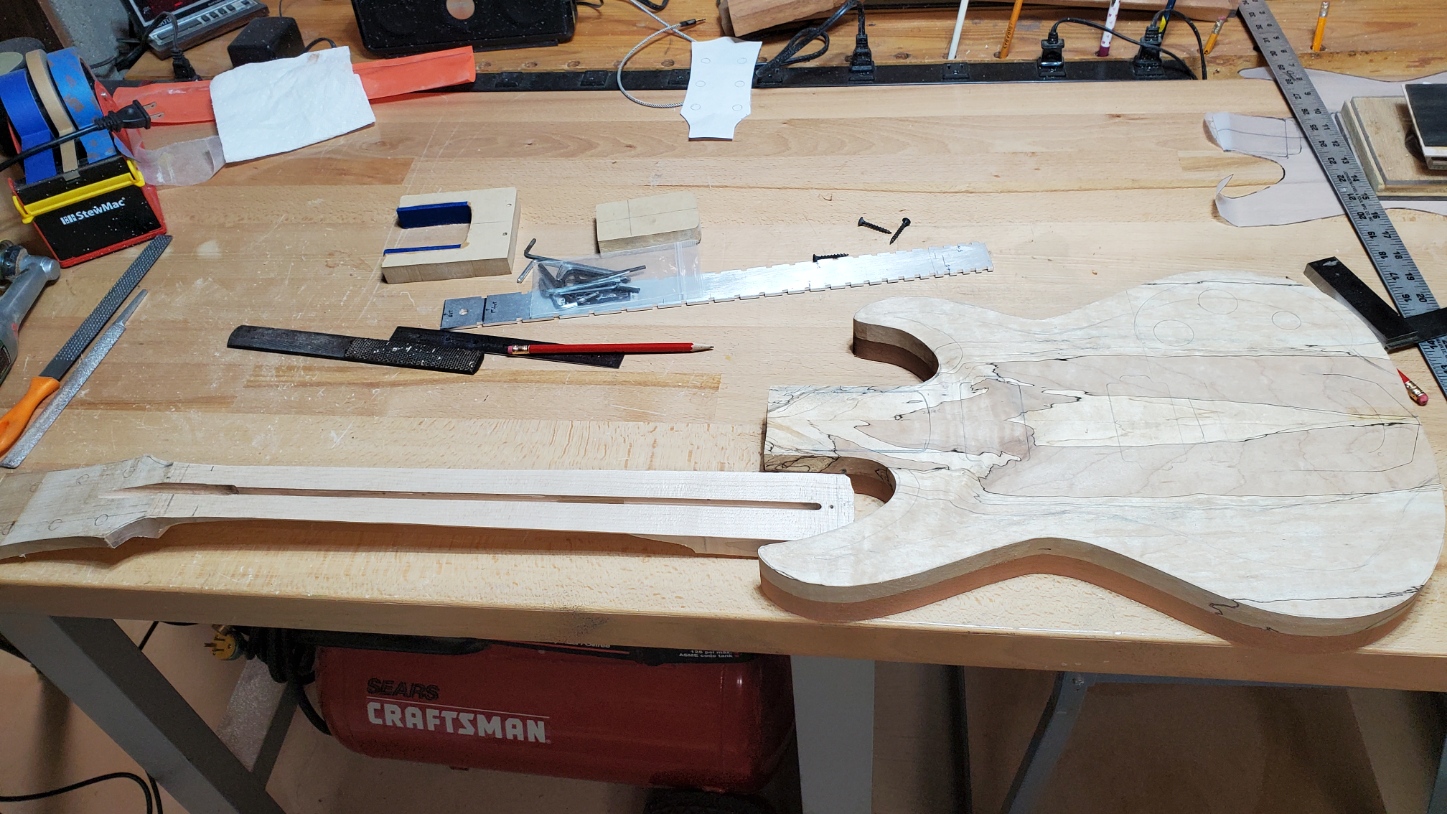
EG Series Electric
1 Step ( Gluing up Body )
2 Step ( Body glued to Mahogony back )
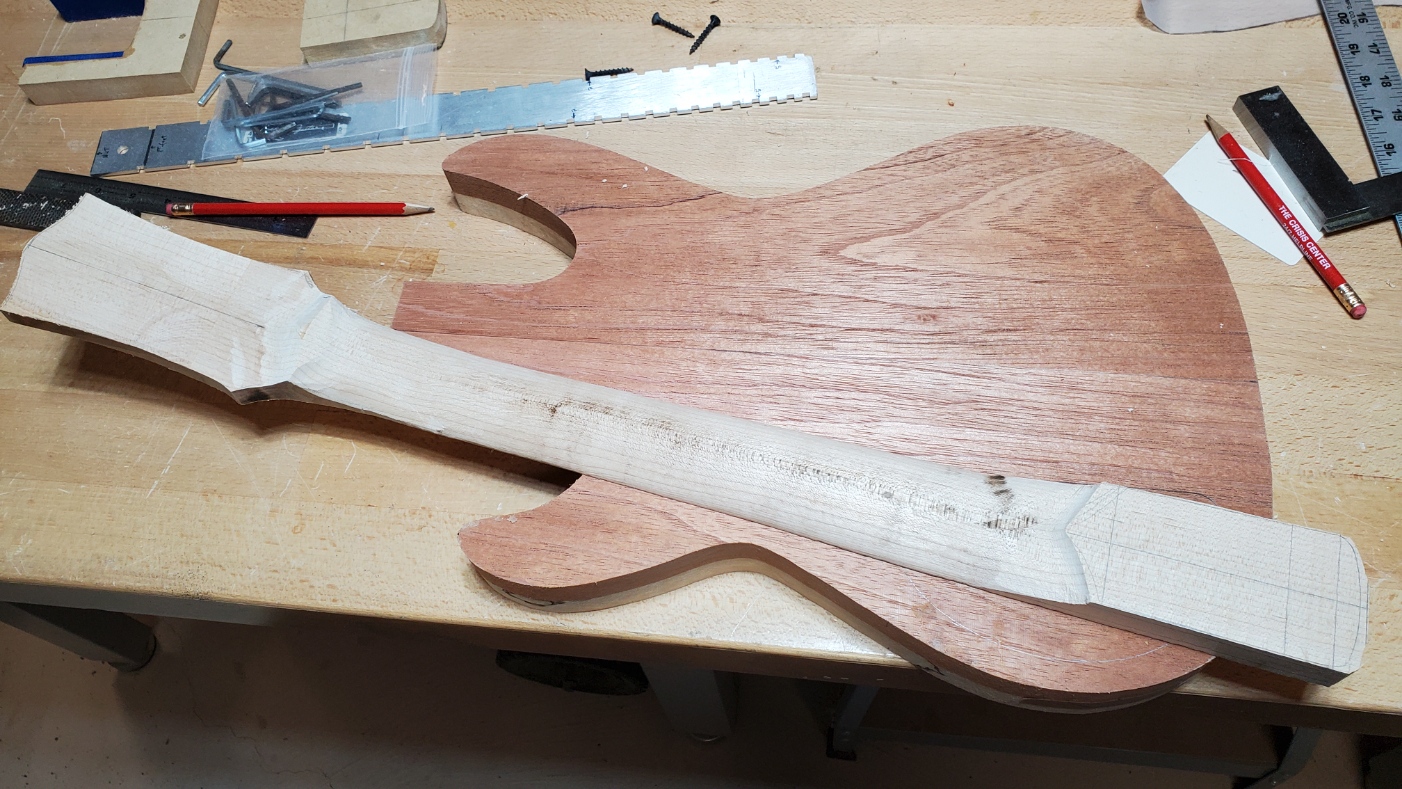
3 Step ( Body and Neck roughed out )
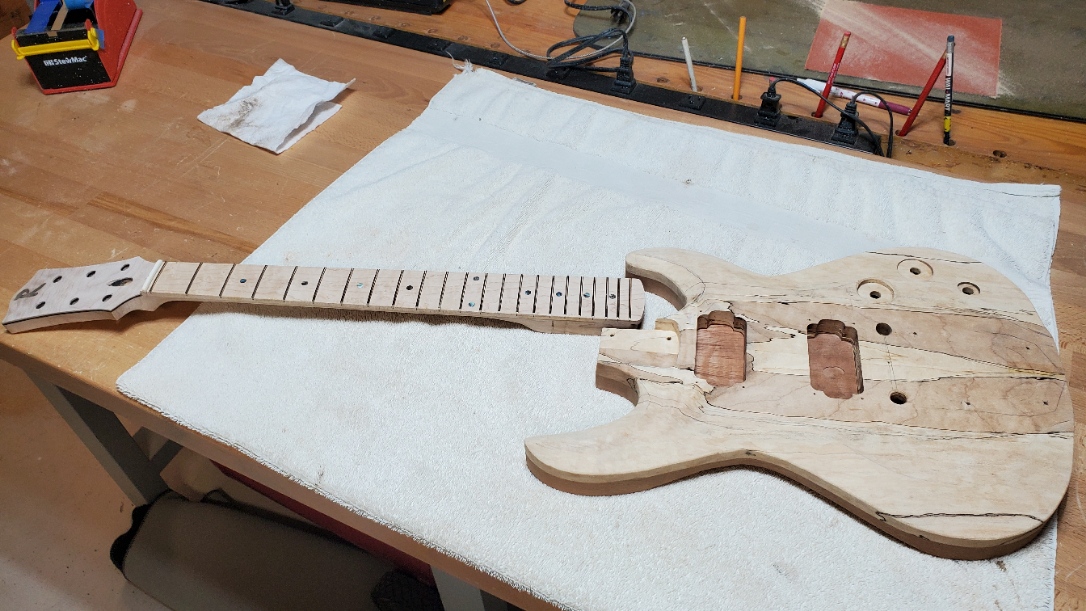
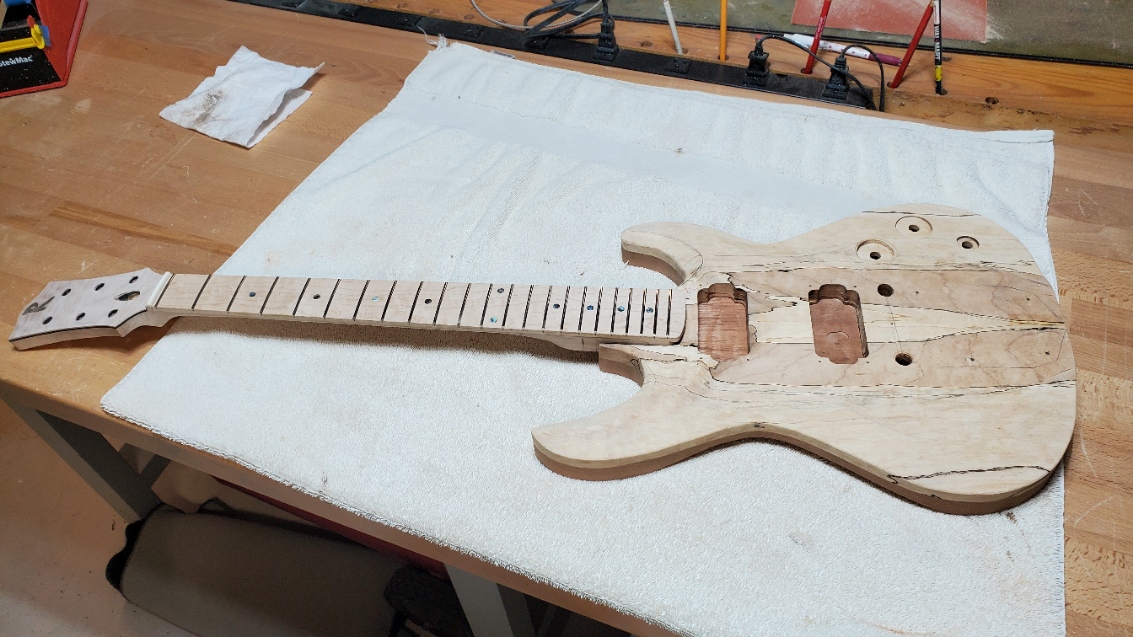
4 Step ( 4 Body routed and neck finished )
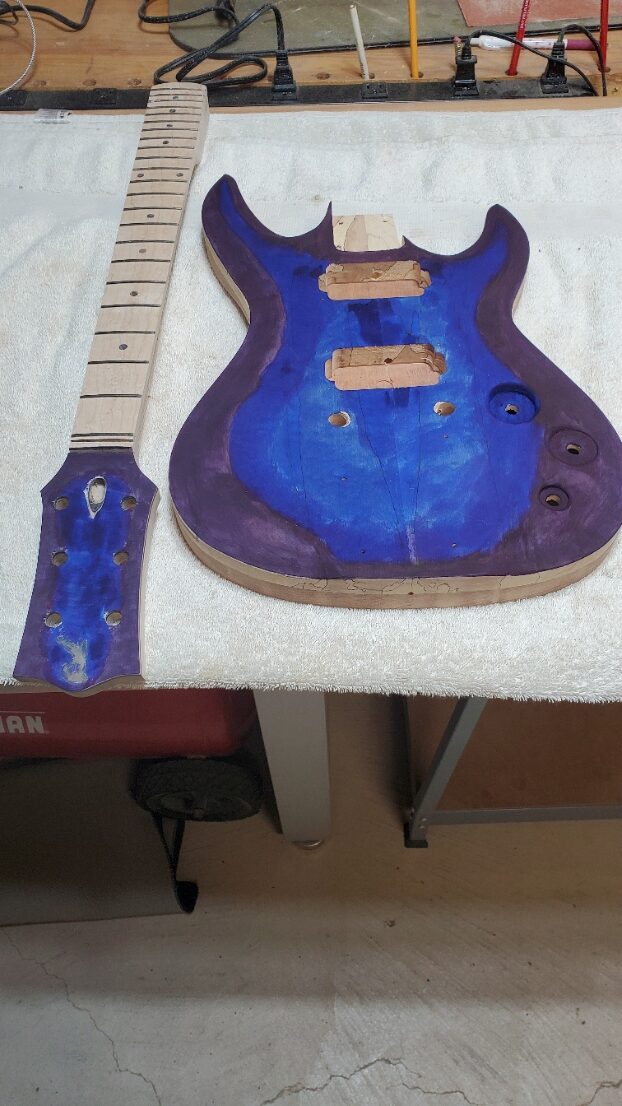
5 Step ( Body routed for pickups and neck pocket )
6 Step ( First application of color )
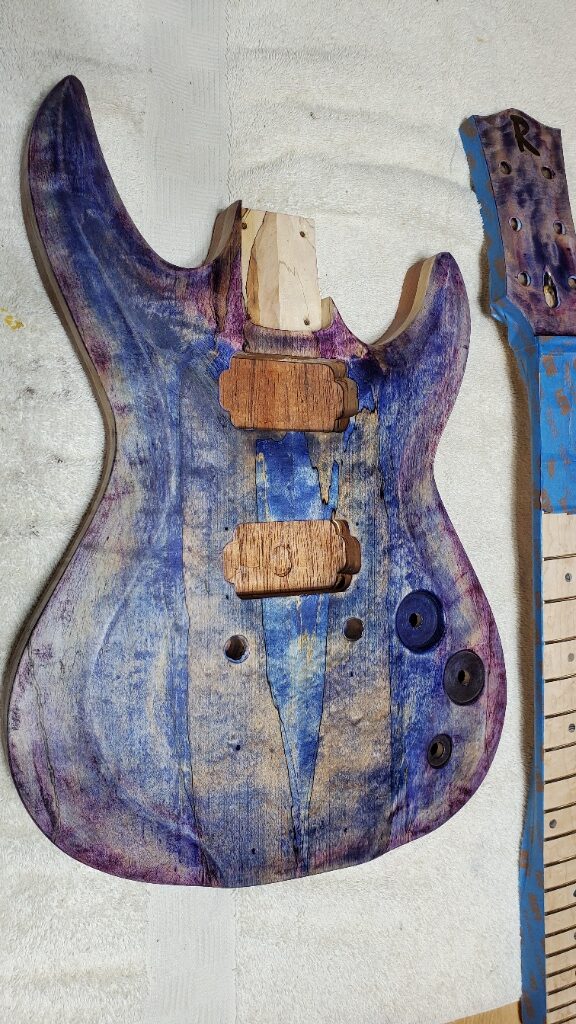
7 Step ( After several layers of color )
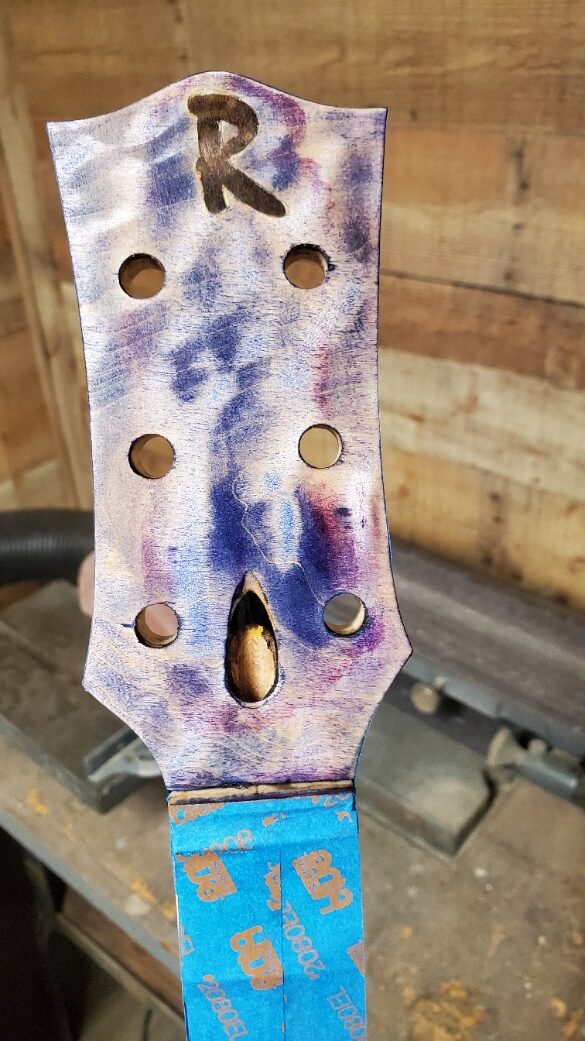
8 Step ( Headstock with inlay )
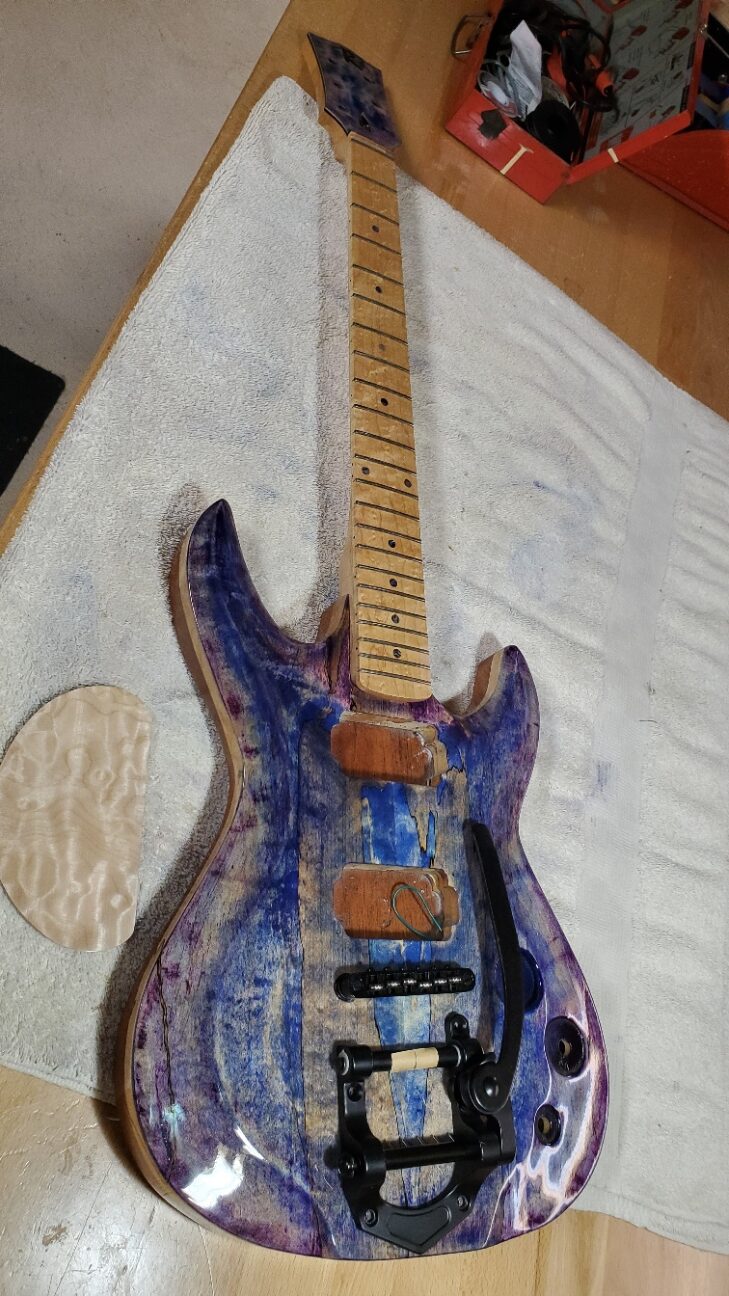
9 Step ( Ready for finishing )
10 Step ( All Lacquered up, ready for hardware )
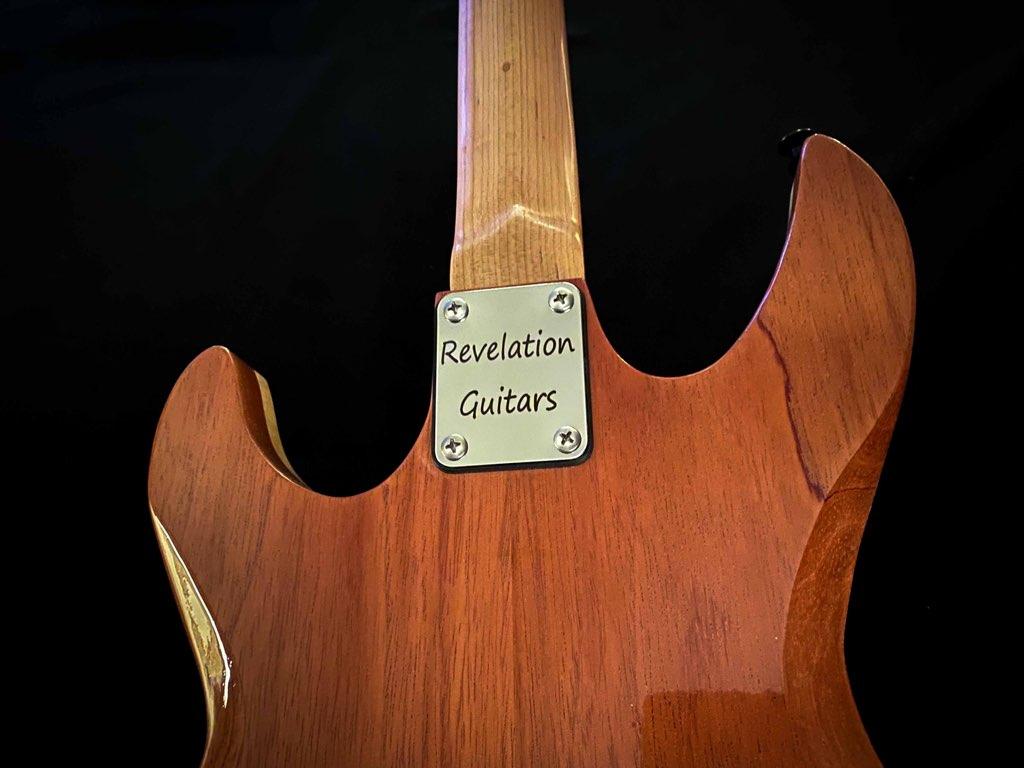
11 Step ( Neck Attached )
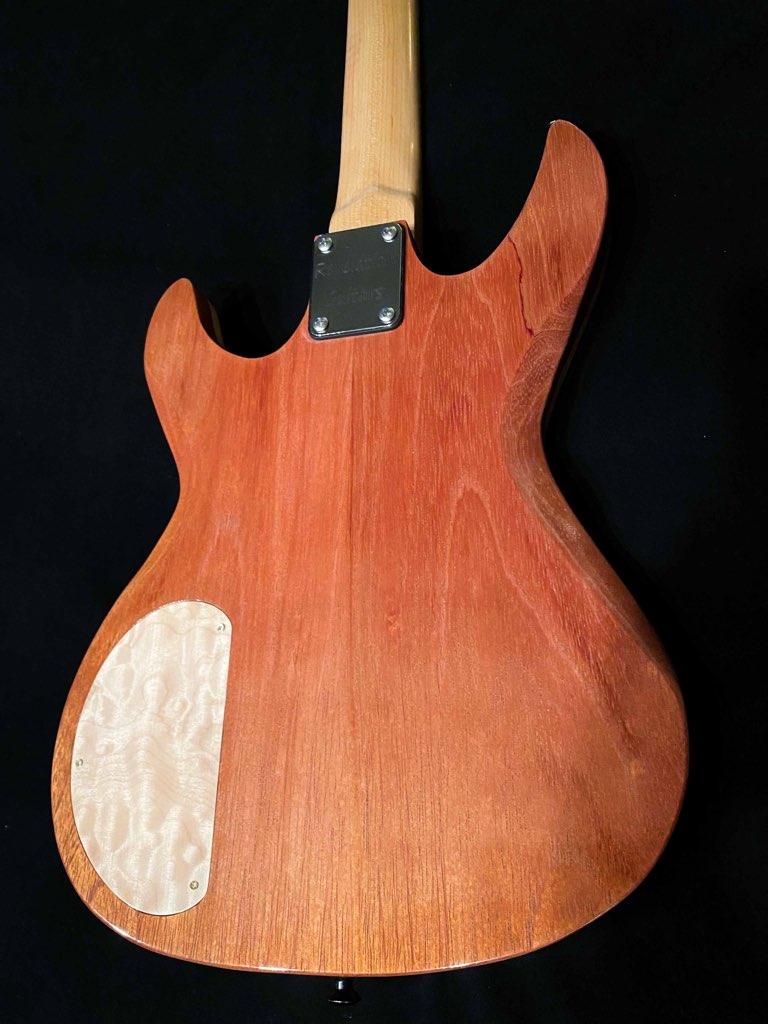
12 Step ( Wired up and Covered )
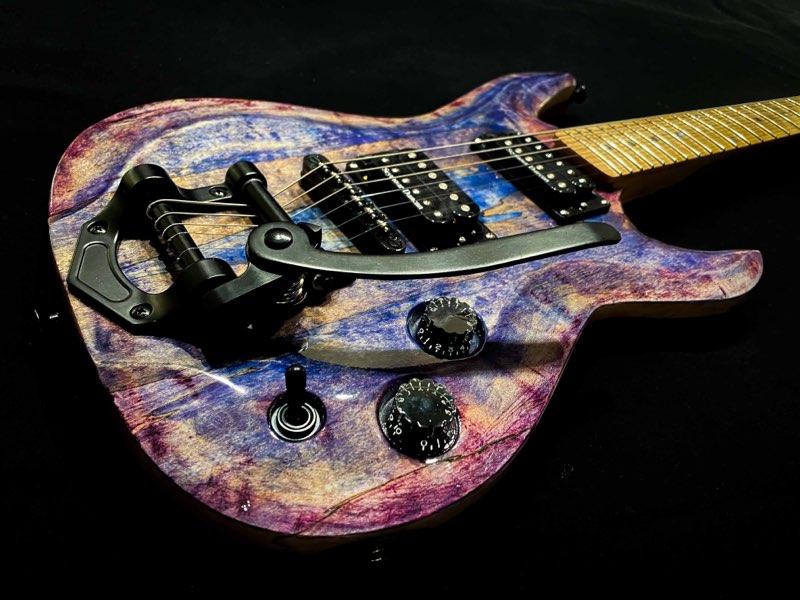
13 Step ( Finished Guitar )
